PrestaShop 1.7
Preparation
To integrate the 2C2P payment gateway with PrestaShop, you will need a sandbox account or a test account.
Support for PrestaShop version 1.7
Installation
-
Download the 2C2P module files here.
-
Login to your PrestaShop admin panel and go to Modules and Services

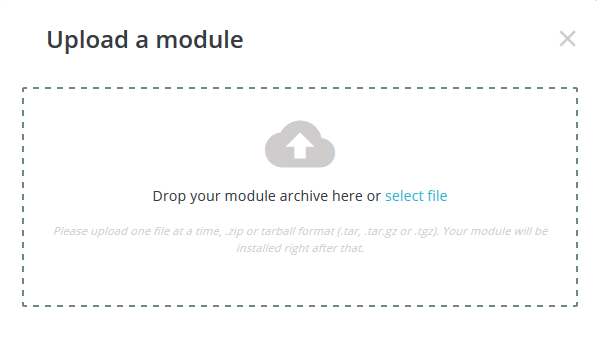
- Select Upload a module

- Upload the 2C2P module files

Configuration
Once uploaded, you will see 2C2P in the Installed modules list. Click Configure.

To configure the different attributes for the module, refer to the guide below.

Reference
| Name | Description | Comment |
|---|---|---|
| Enable/Status | Enable or disable the module | If disabled, the 2C2P payment option will not appear on your checkout page. |
| Title | Title to be displayed for the 2C2P payment option. | Sets the title to be displayed at the checkout page. |
| Merchant ID | Merchant ID provided by 2C2P | This can be found in the my2C2P portal. |
| Secret Key | Secret Key for authentication | This can be found in the my2C2P portal. |
| Mode | Select the module mode | For testing, choose Sandbox. For live usage, choose Production. |
| Stored Card Payment | Enable or disable stored card payments | Tick the checkbox to allow storage of card details for subsequent payments |
| 123 Payment Expiry | Set the payment slip validity for the 123 alternative payment method. | The unit is in hours, and must be a value between 8 - 720. |
| Language | Select the language for the payment gateway. | The default language is English. |
Interface
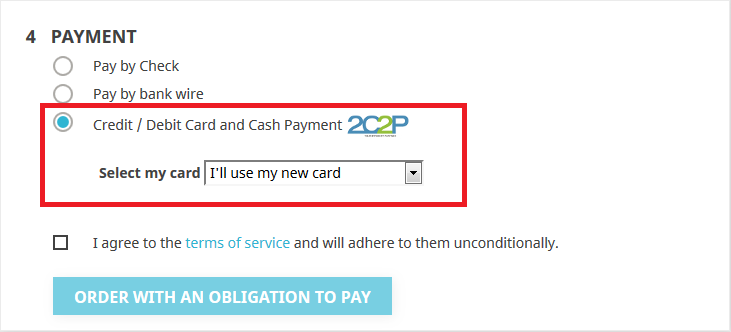
After enabling the module, 2C2P will be one of the payment options available for customers. If stored card payments have been enabled, customers will also be able to select any cards they have previously stored.

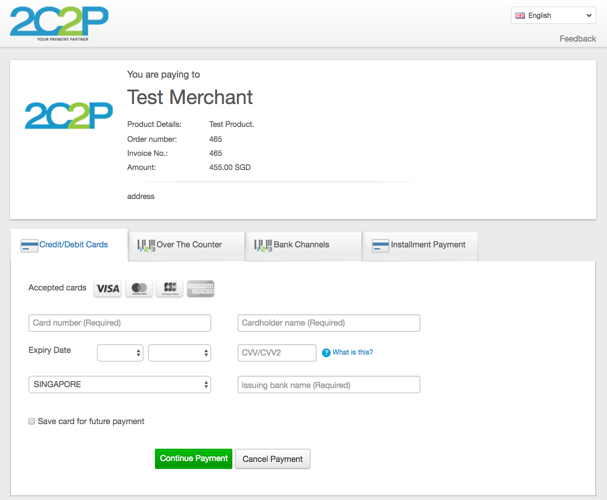
To proceed with payment, customers will be redirected to 2C2P's payment page. If stored card payments have been enabled, customers will also see the option to save their card for future transactions.

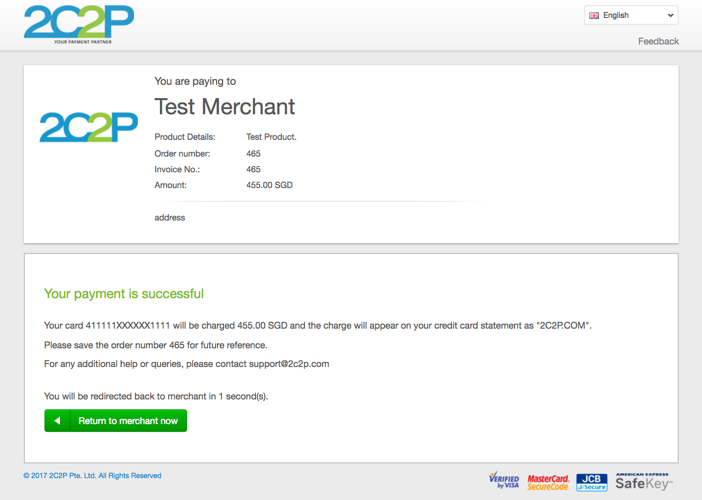
The payment results page will be displayed after a completed transaction.

Updated 8 months ago
