Apple Pay Prerequisite
1. Register for an Apple Merchant ID
Refer Setting up Apple Pay
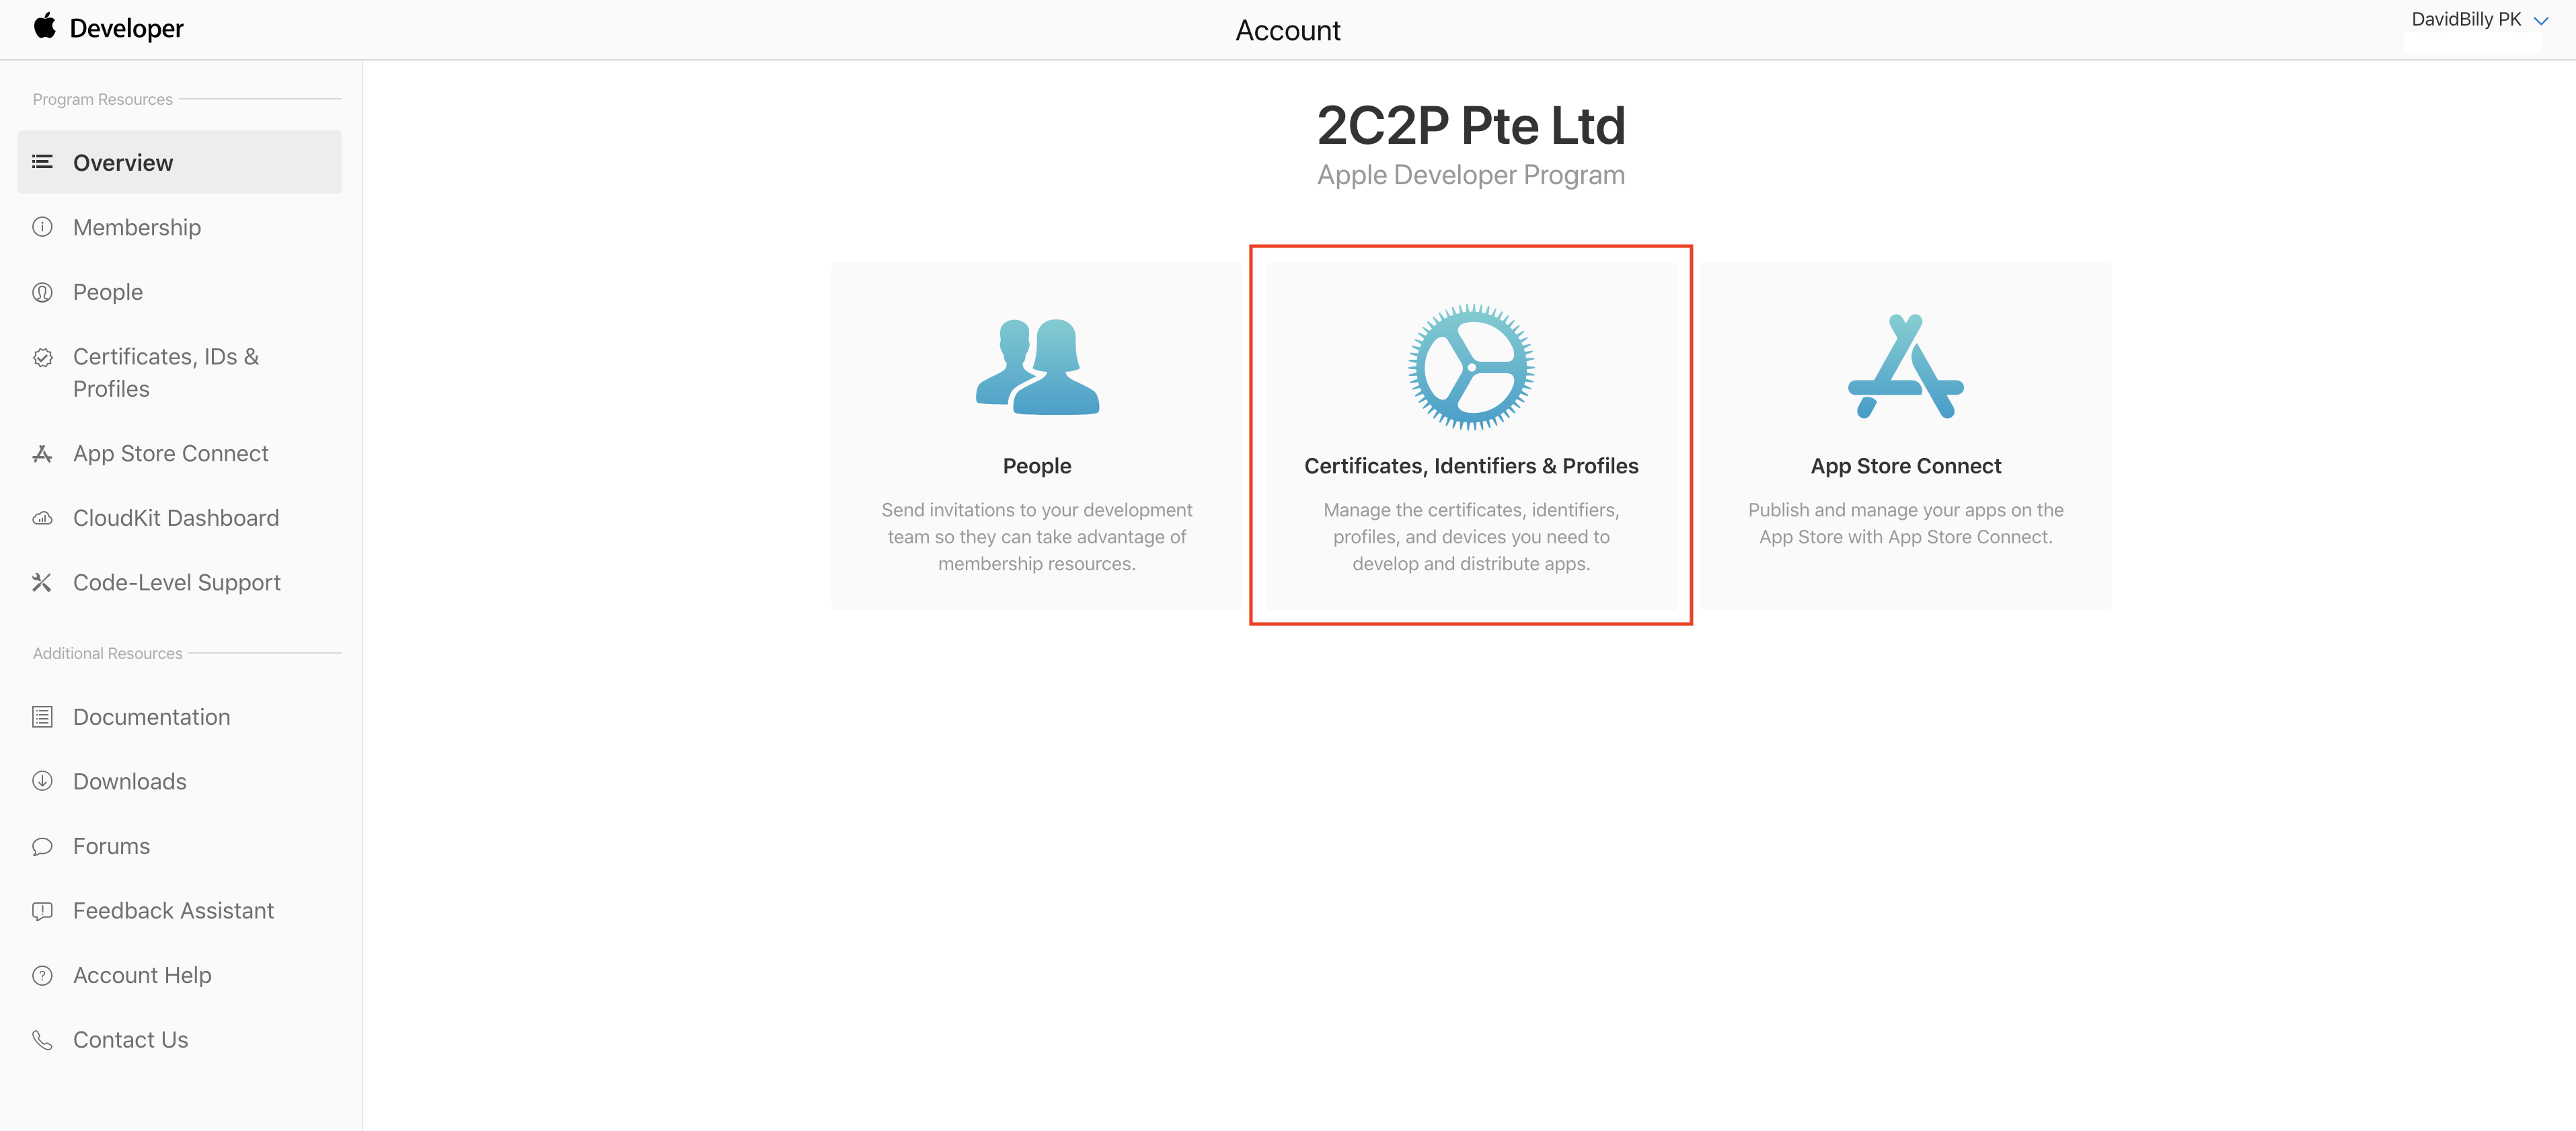
Step 1: Click on Certificates, Identifiers & Profiles.
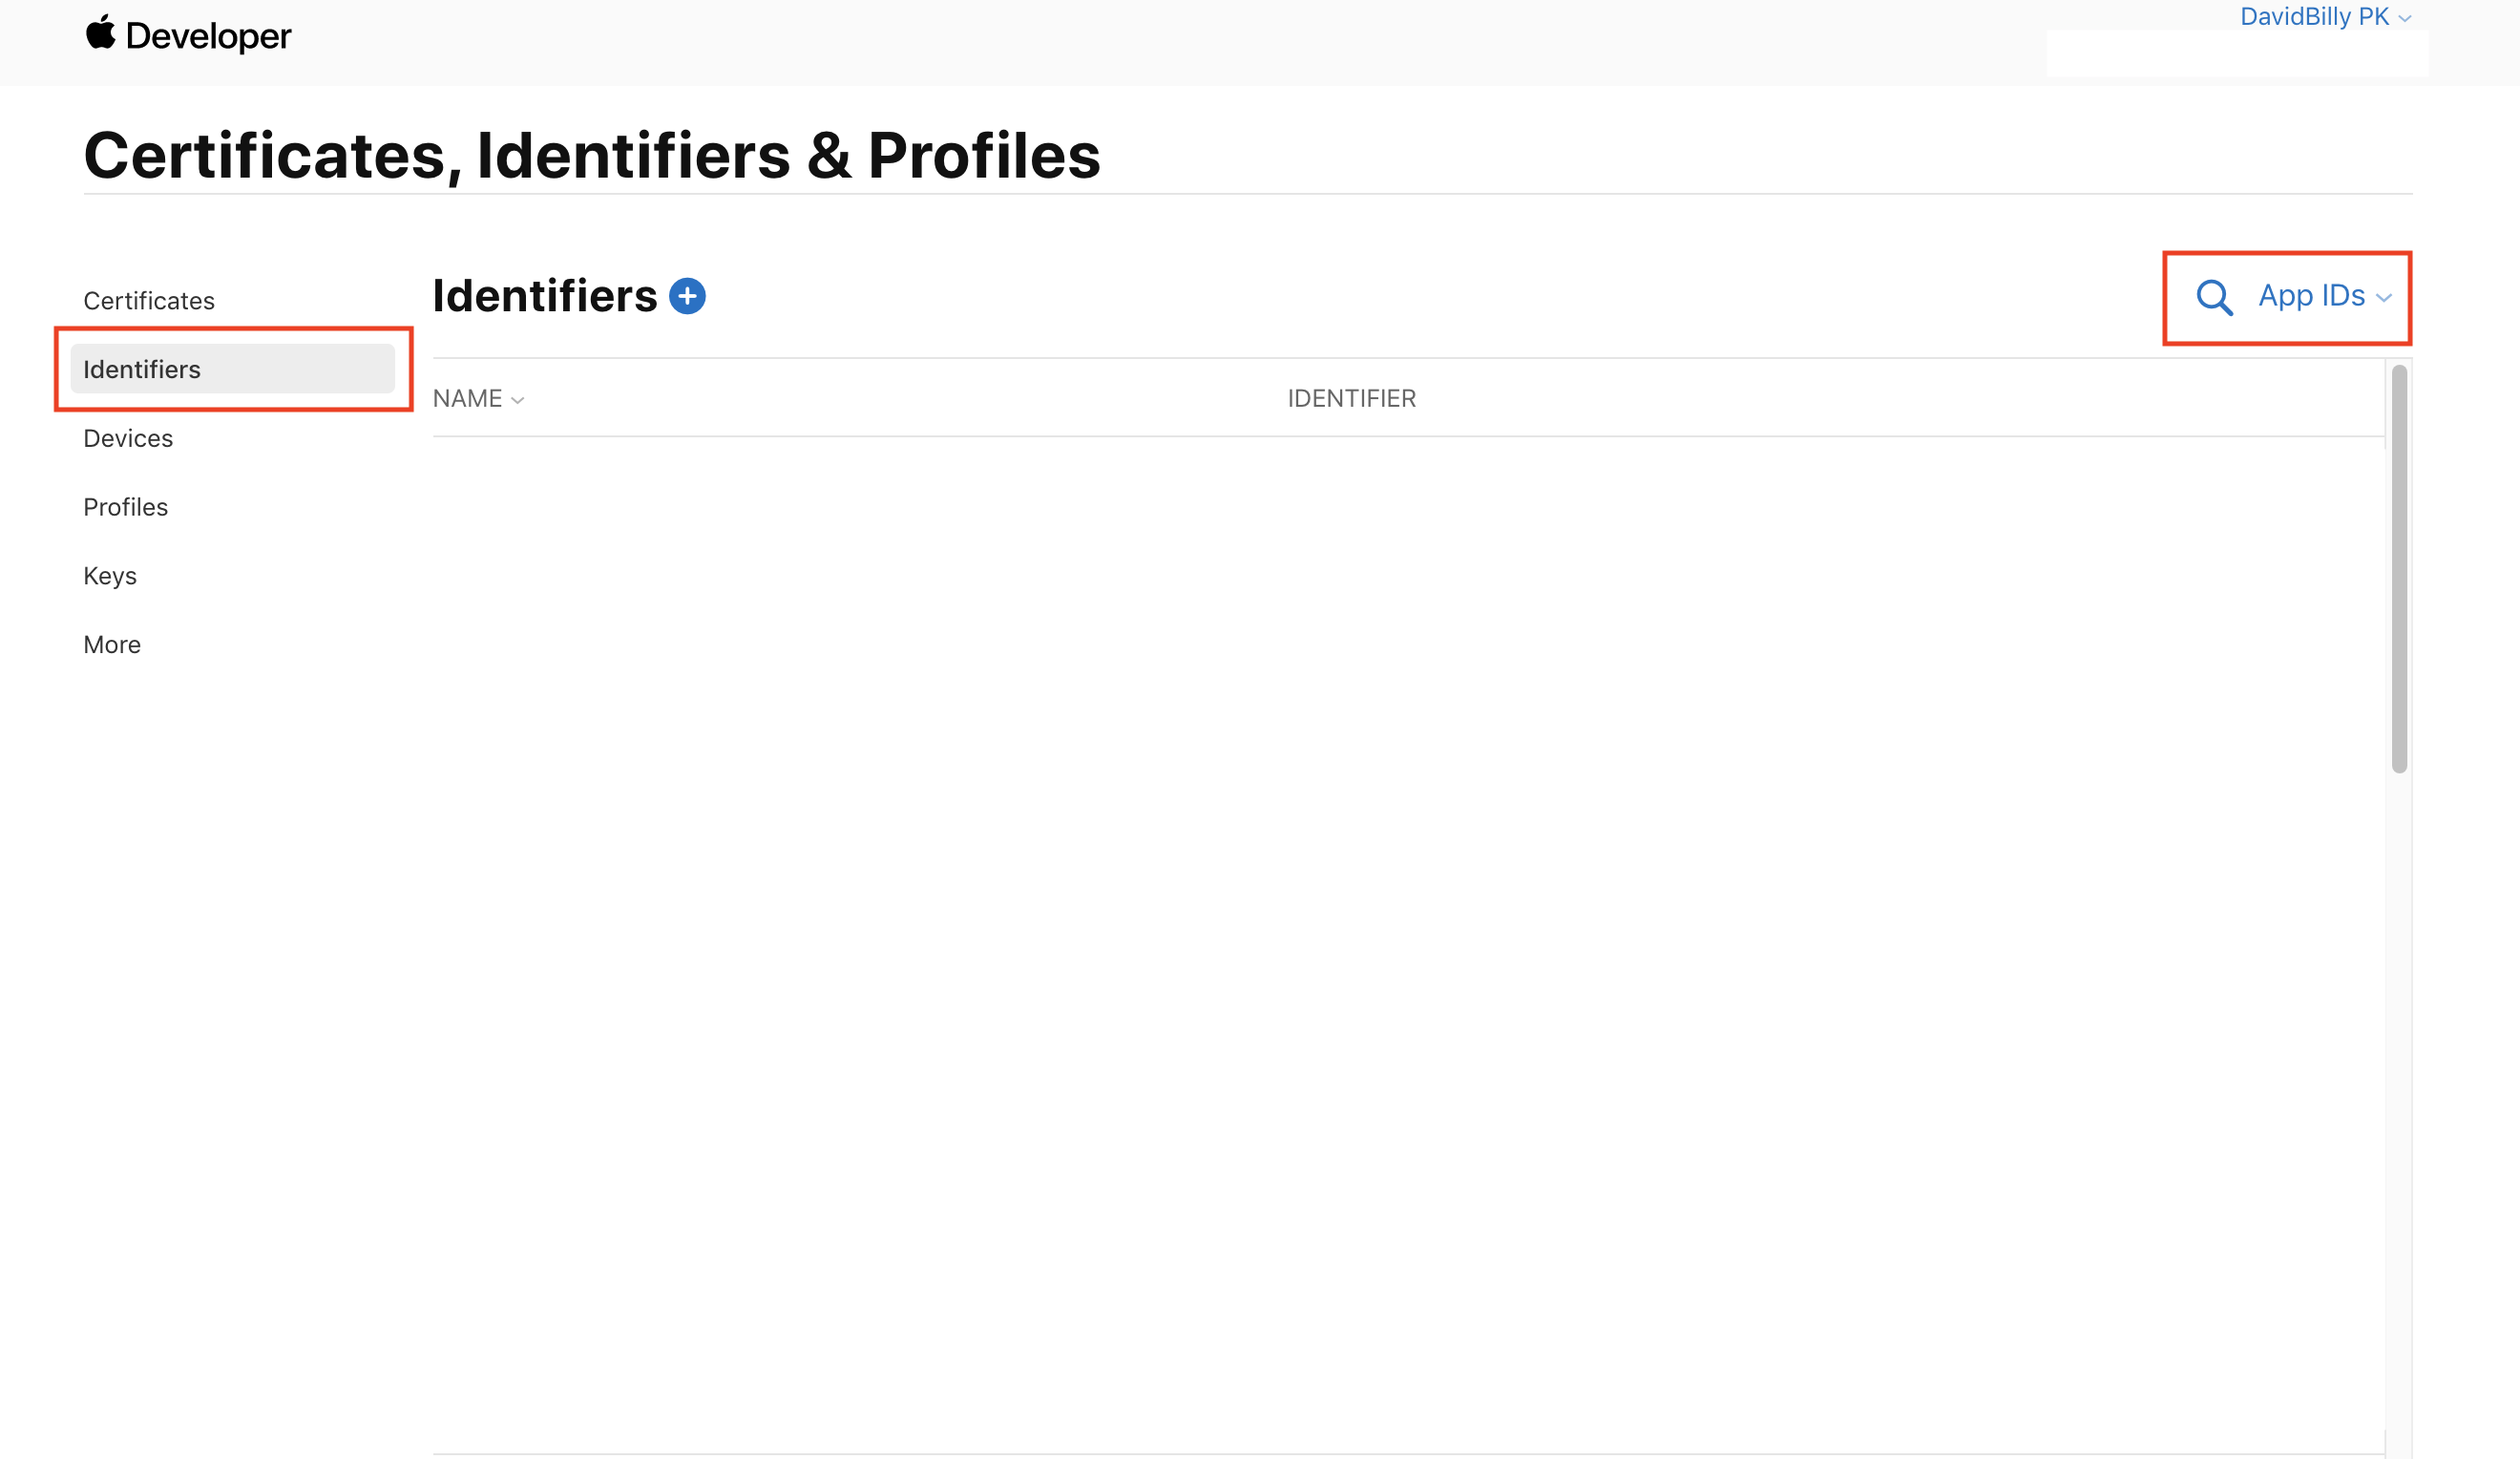
Step 2: Click on Identifiers, and on filter.
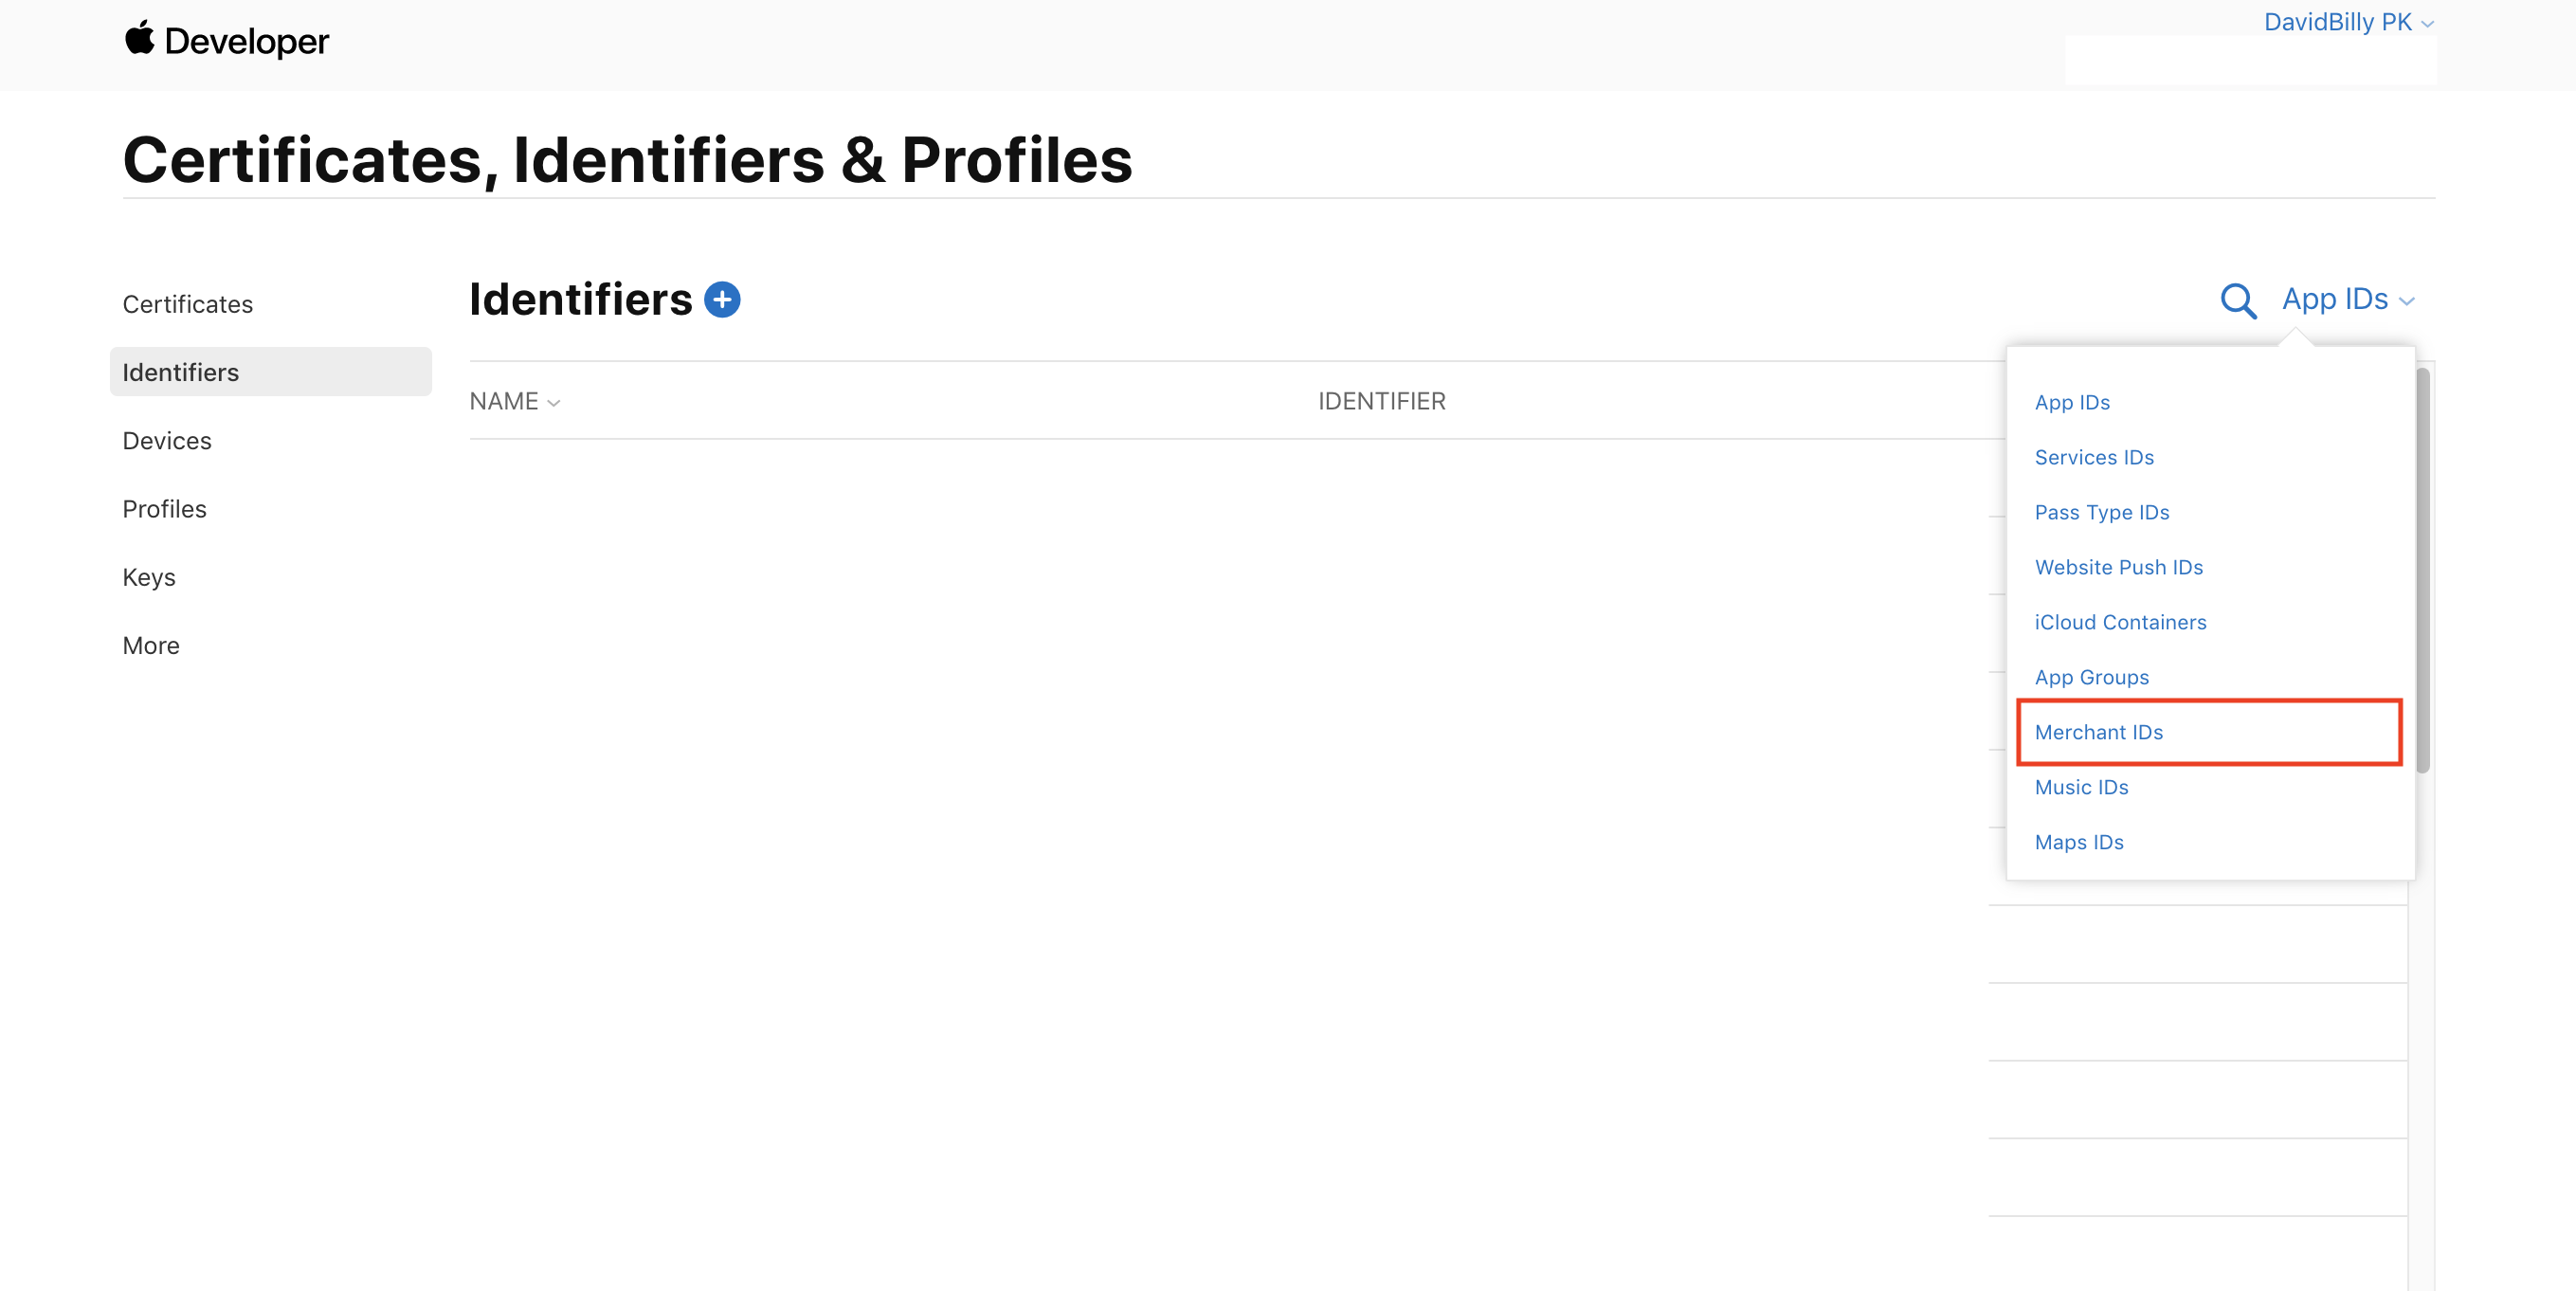
Step 3: Filter by Merchant IDs.
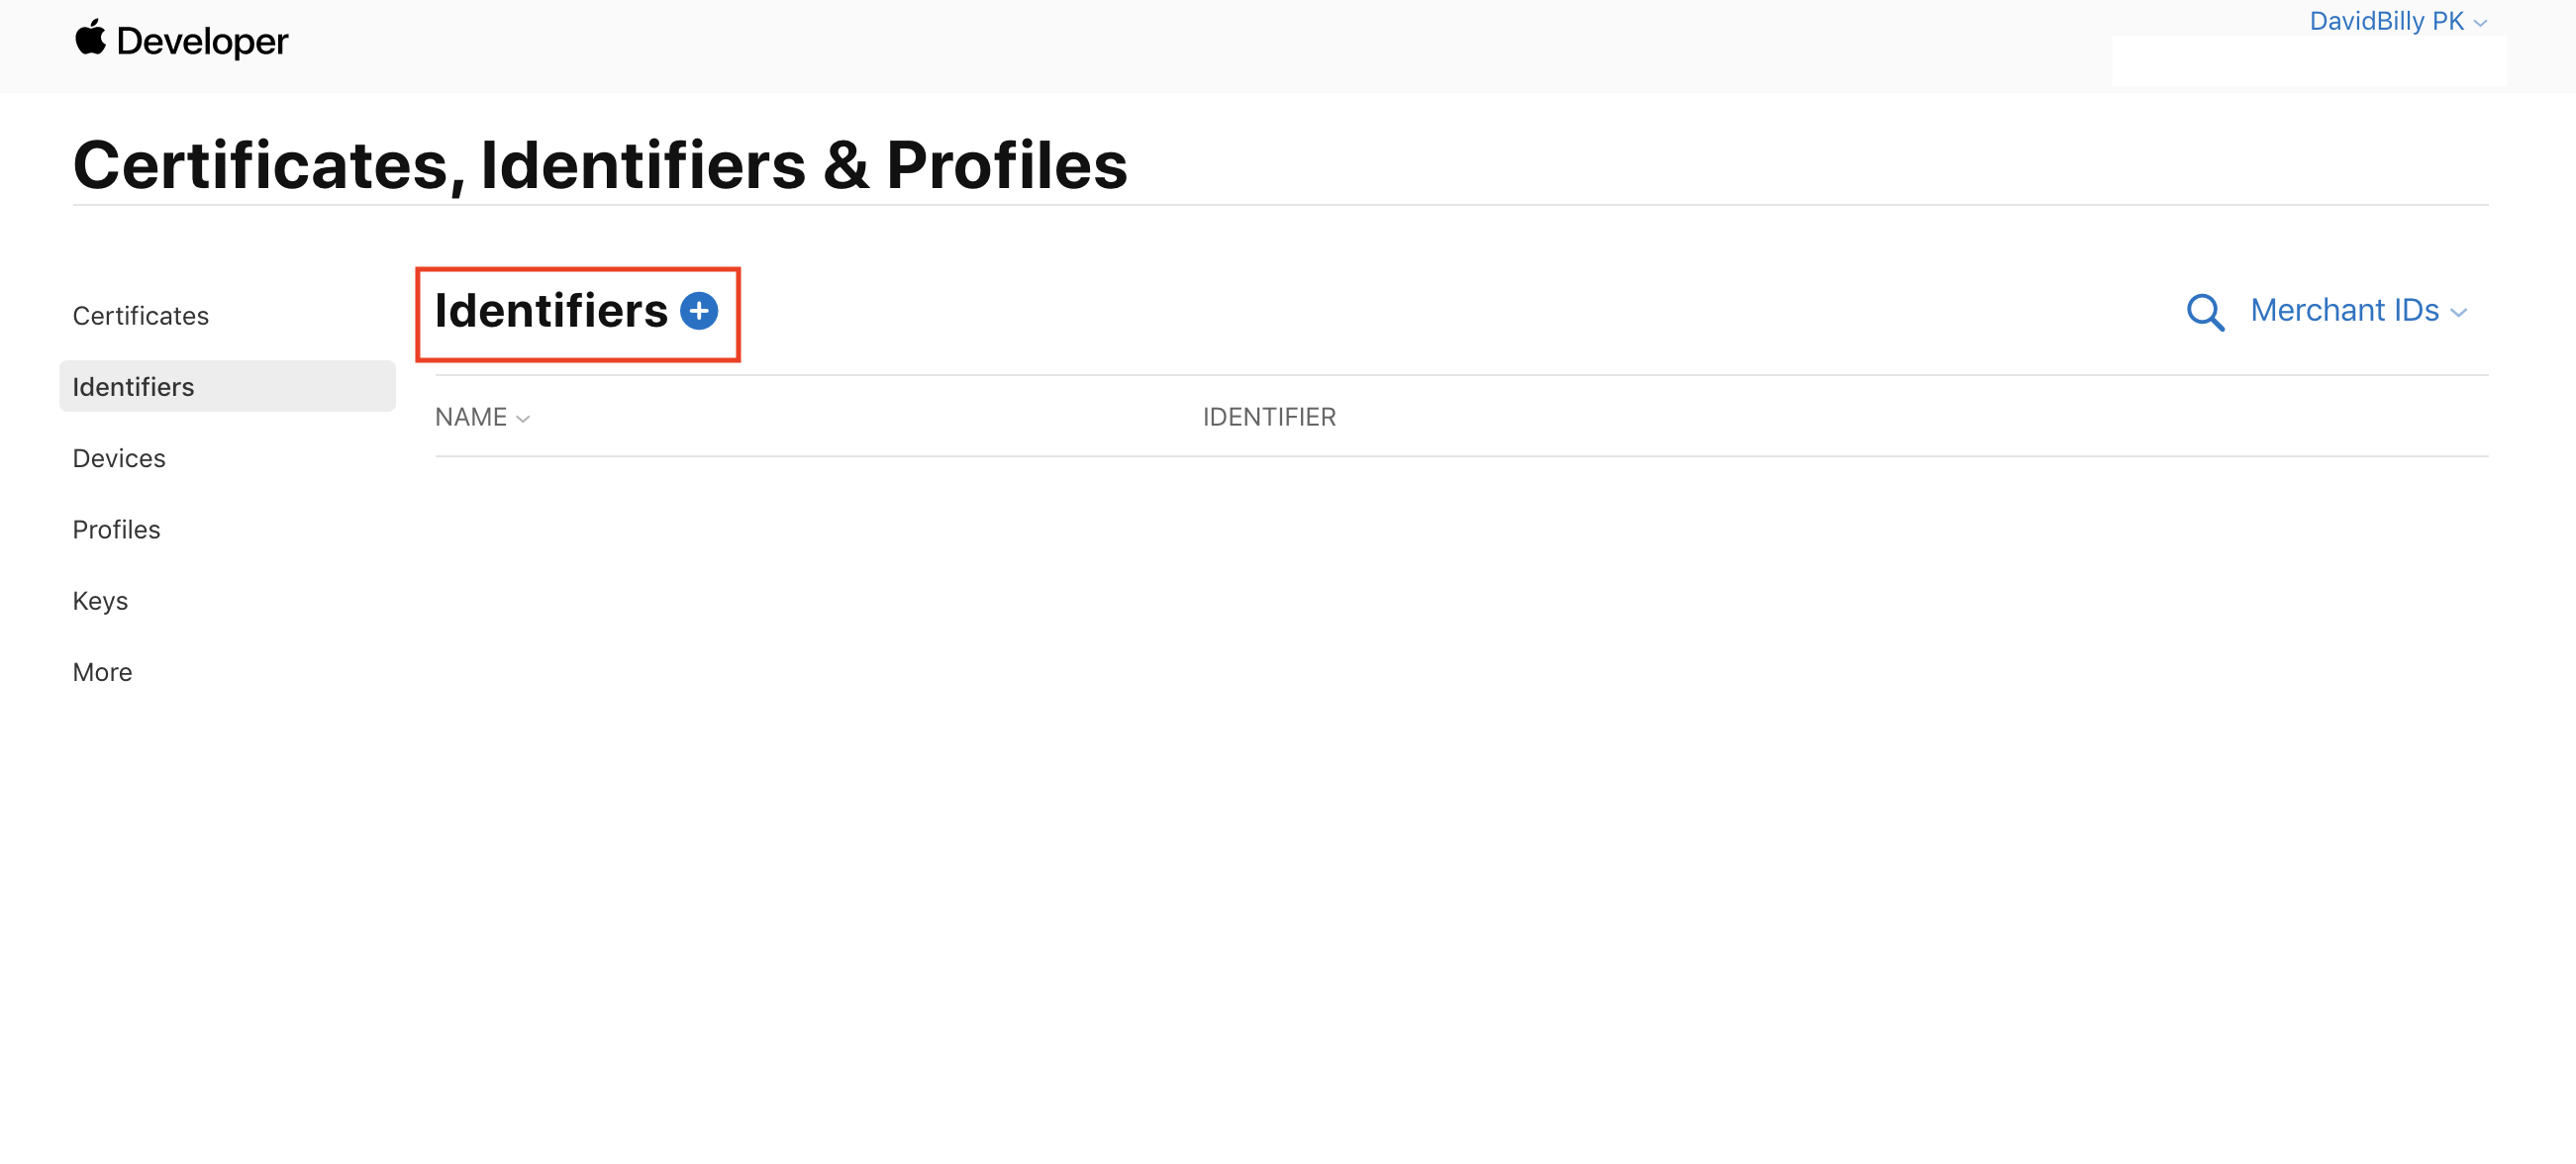
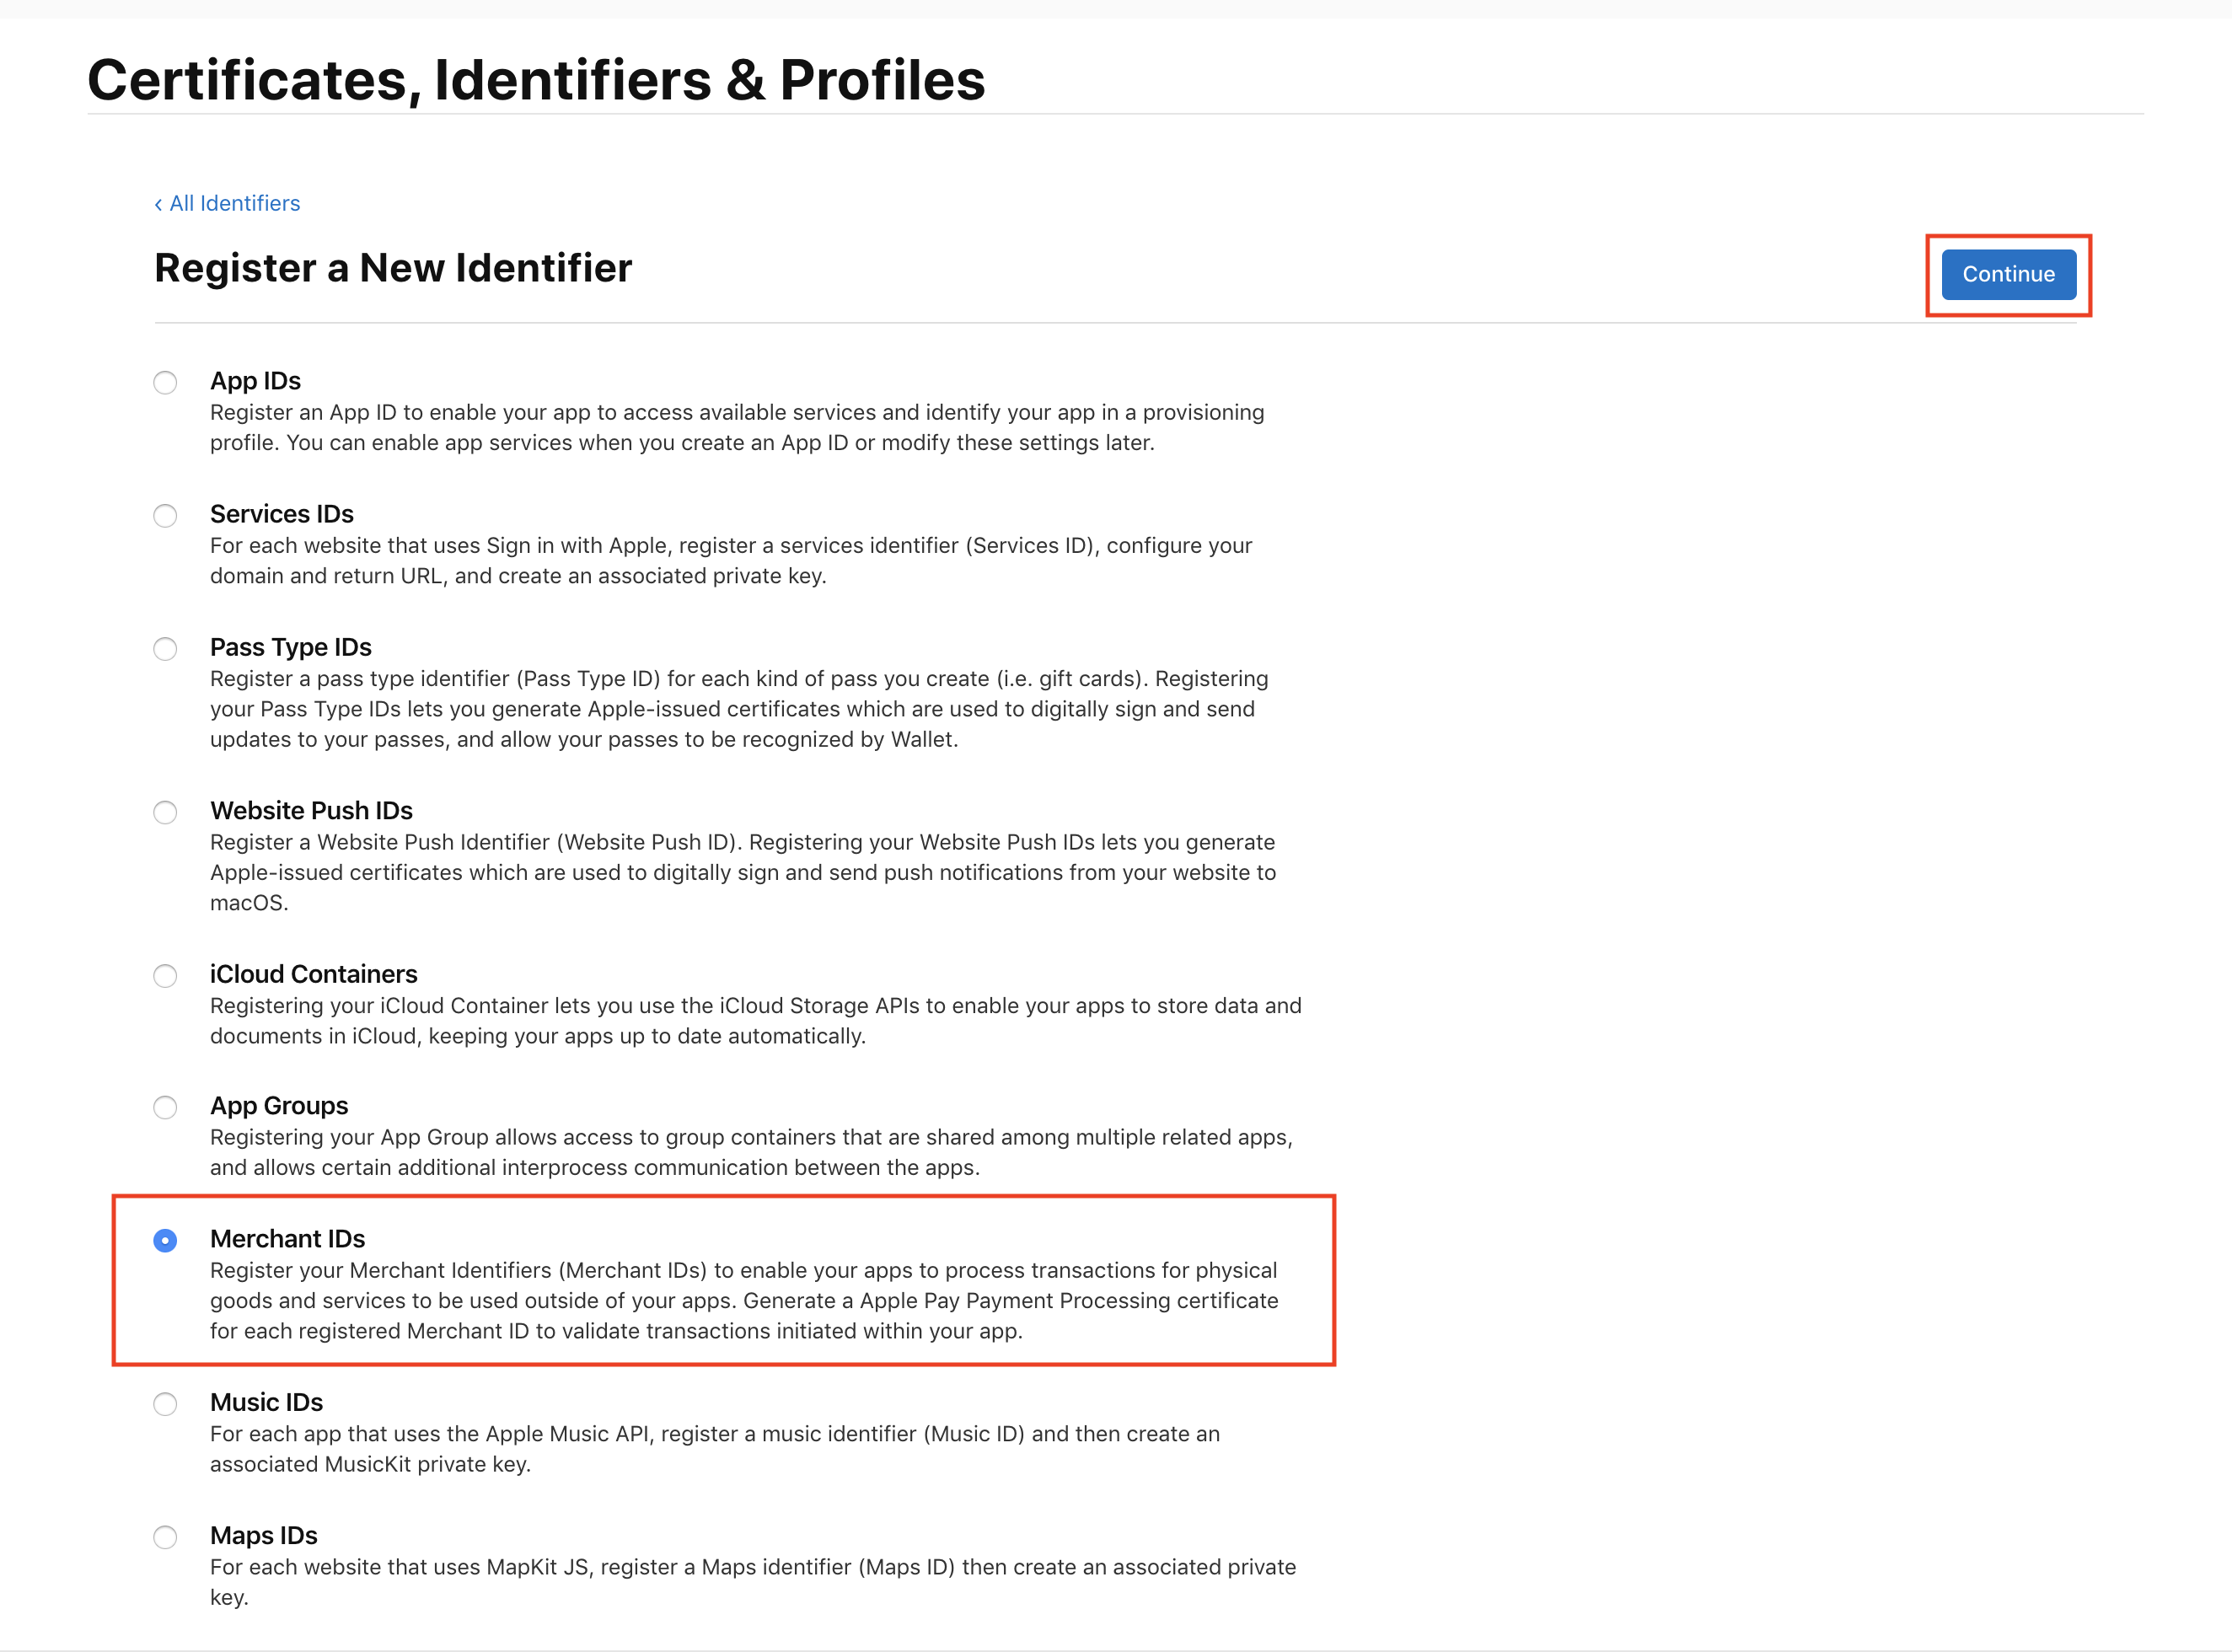
Step 4: Click on add new Identifiers.
Step 5: Register new Merchant ID and click on continue.
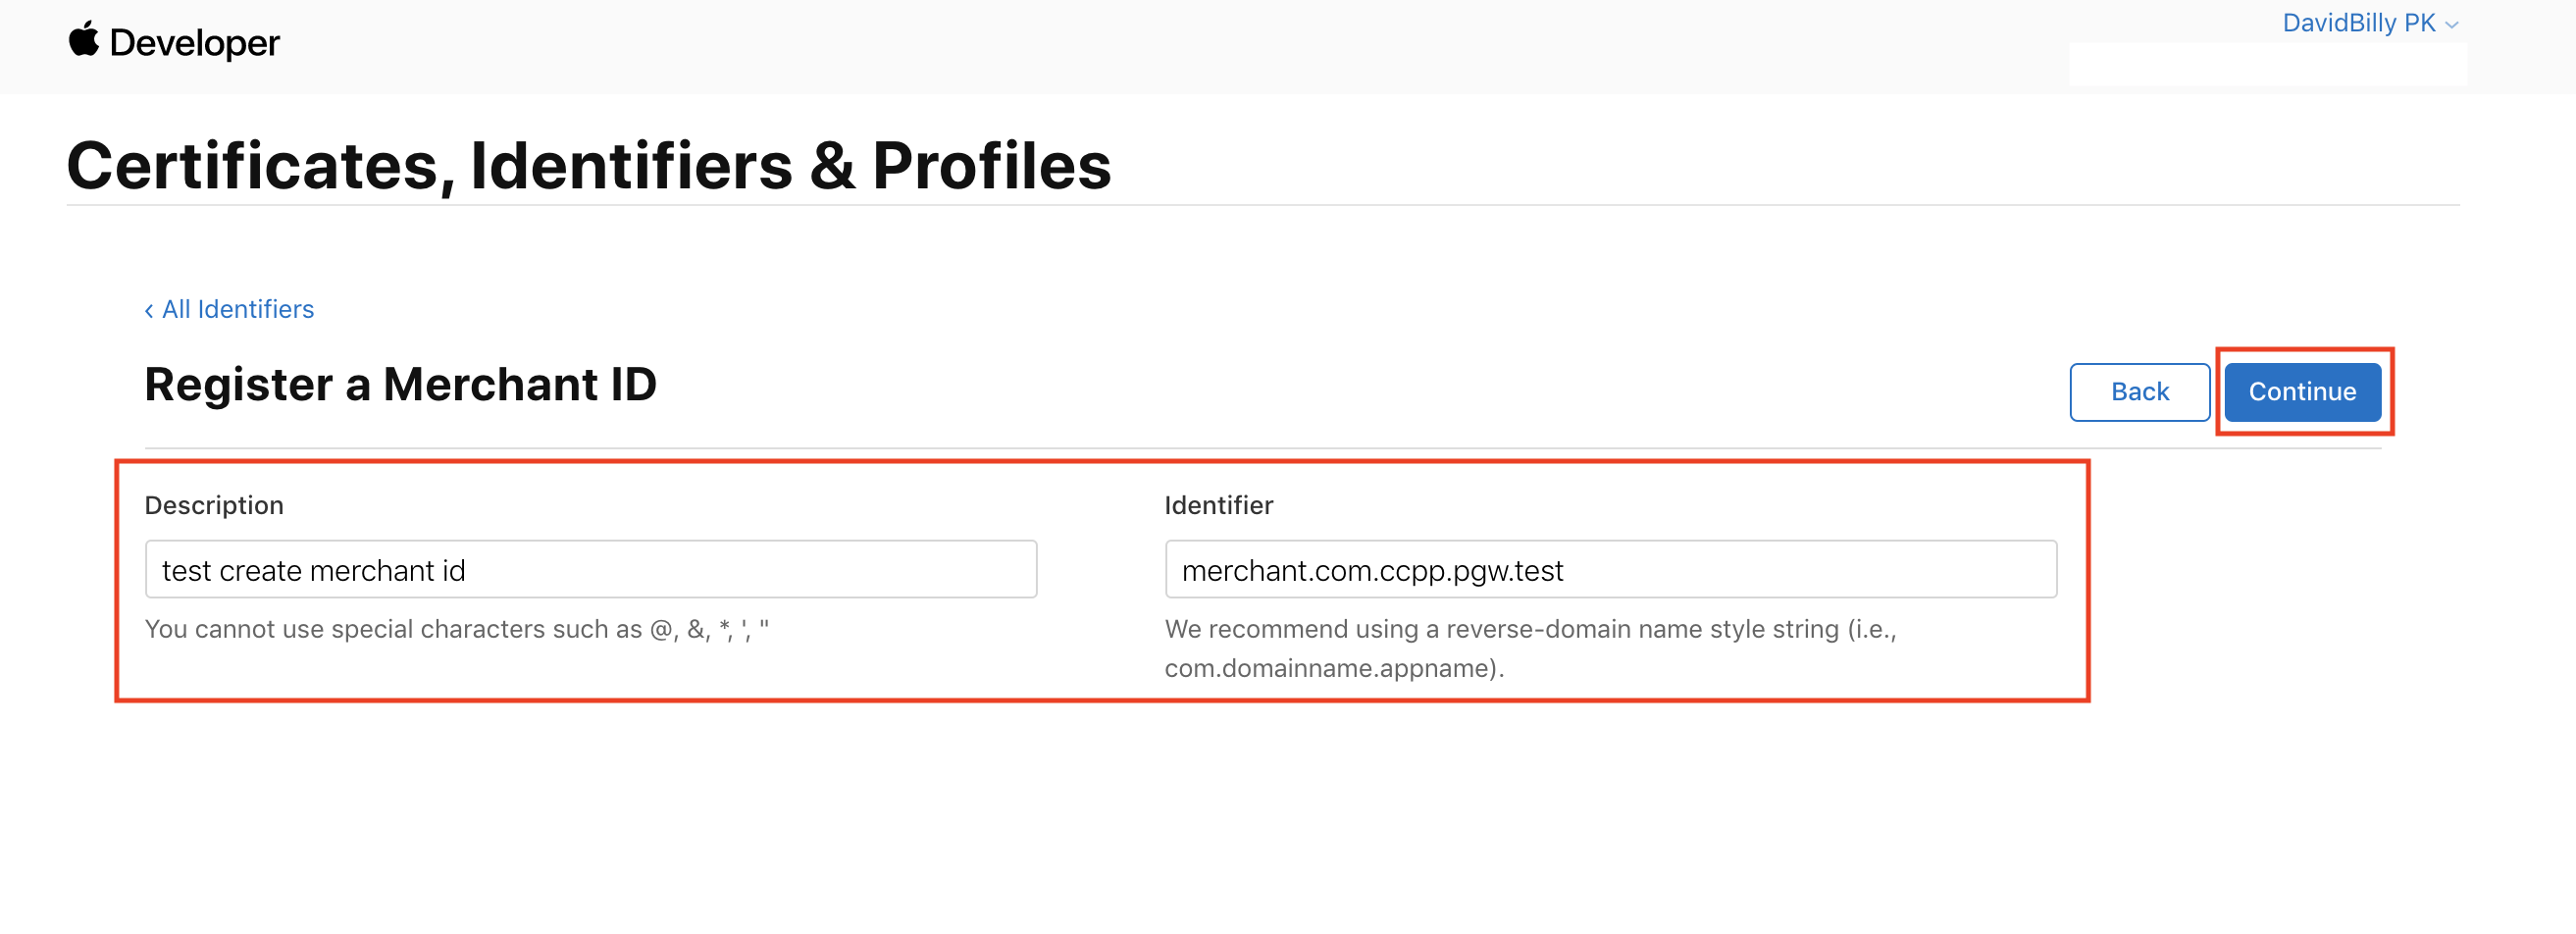
Step 6: Fill in description and unique identifier (Recommend using merchant.com.{your.app.id}). Then click on continue.
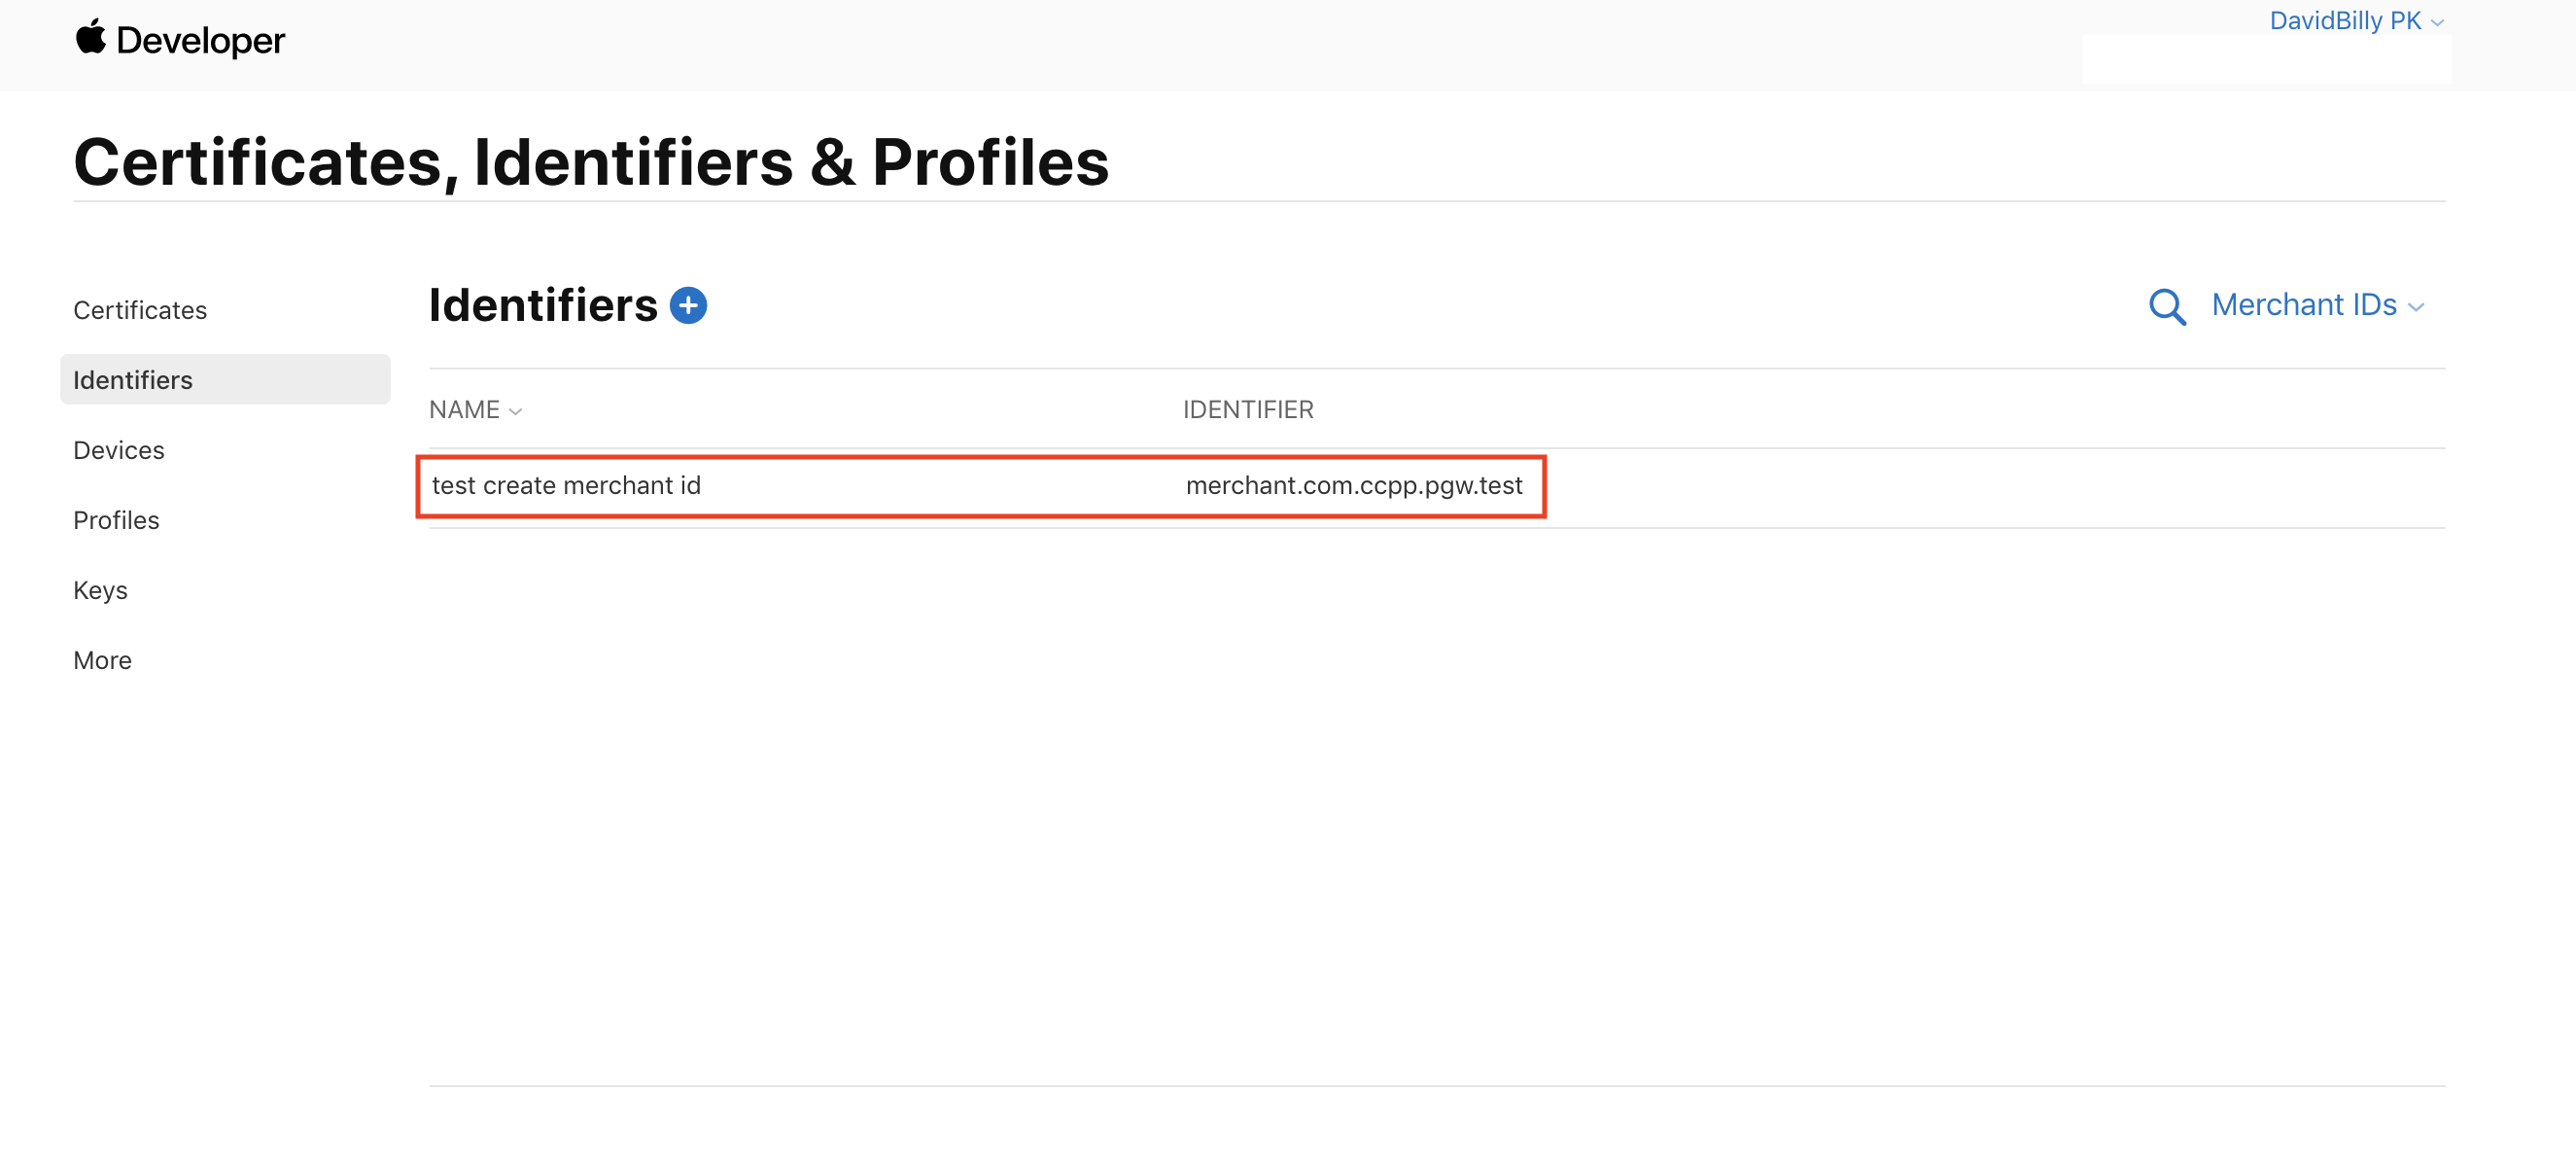
Step 7: After registered successfully, you'll see your merchant ID on the list.
2. Create a new Apple Pay certificate
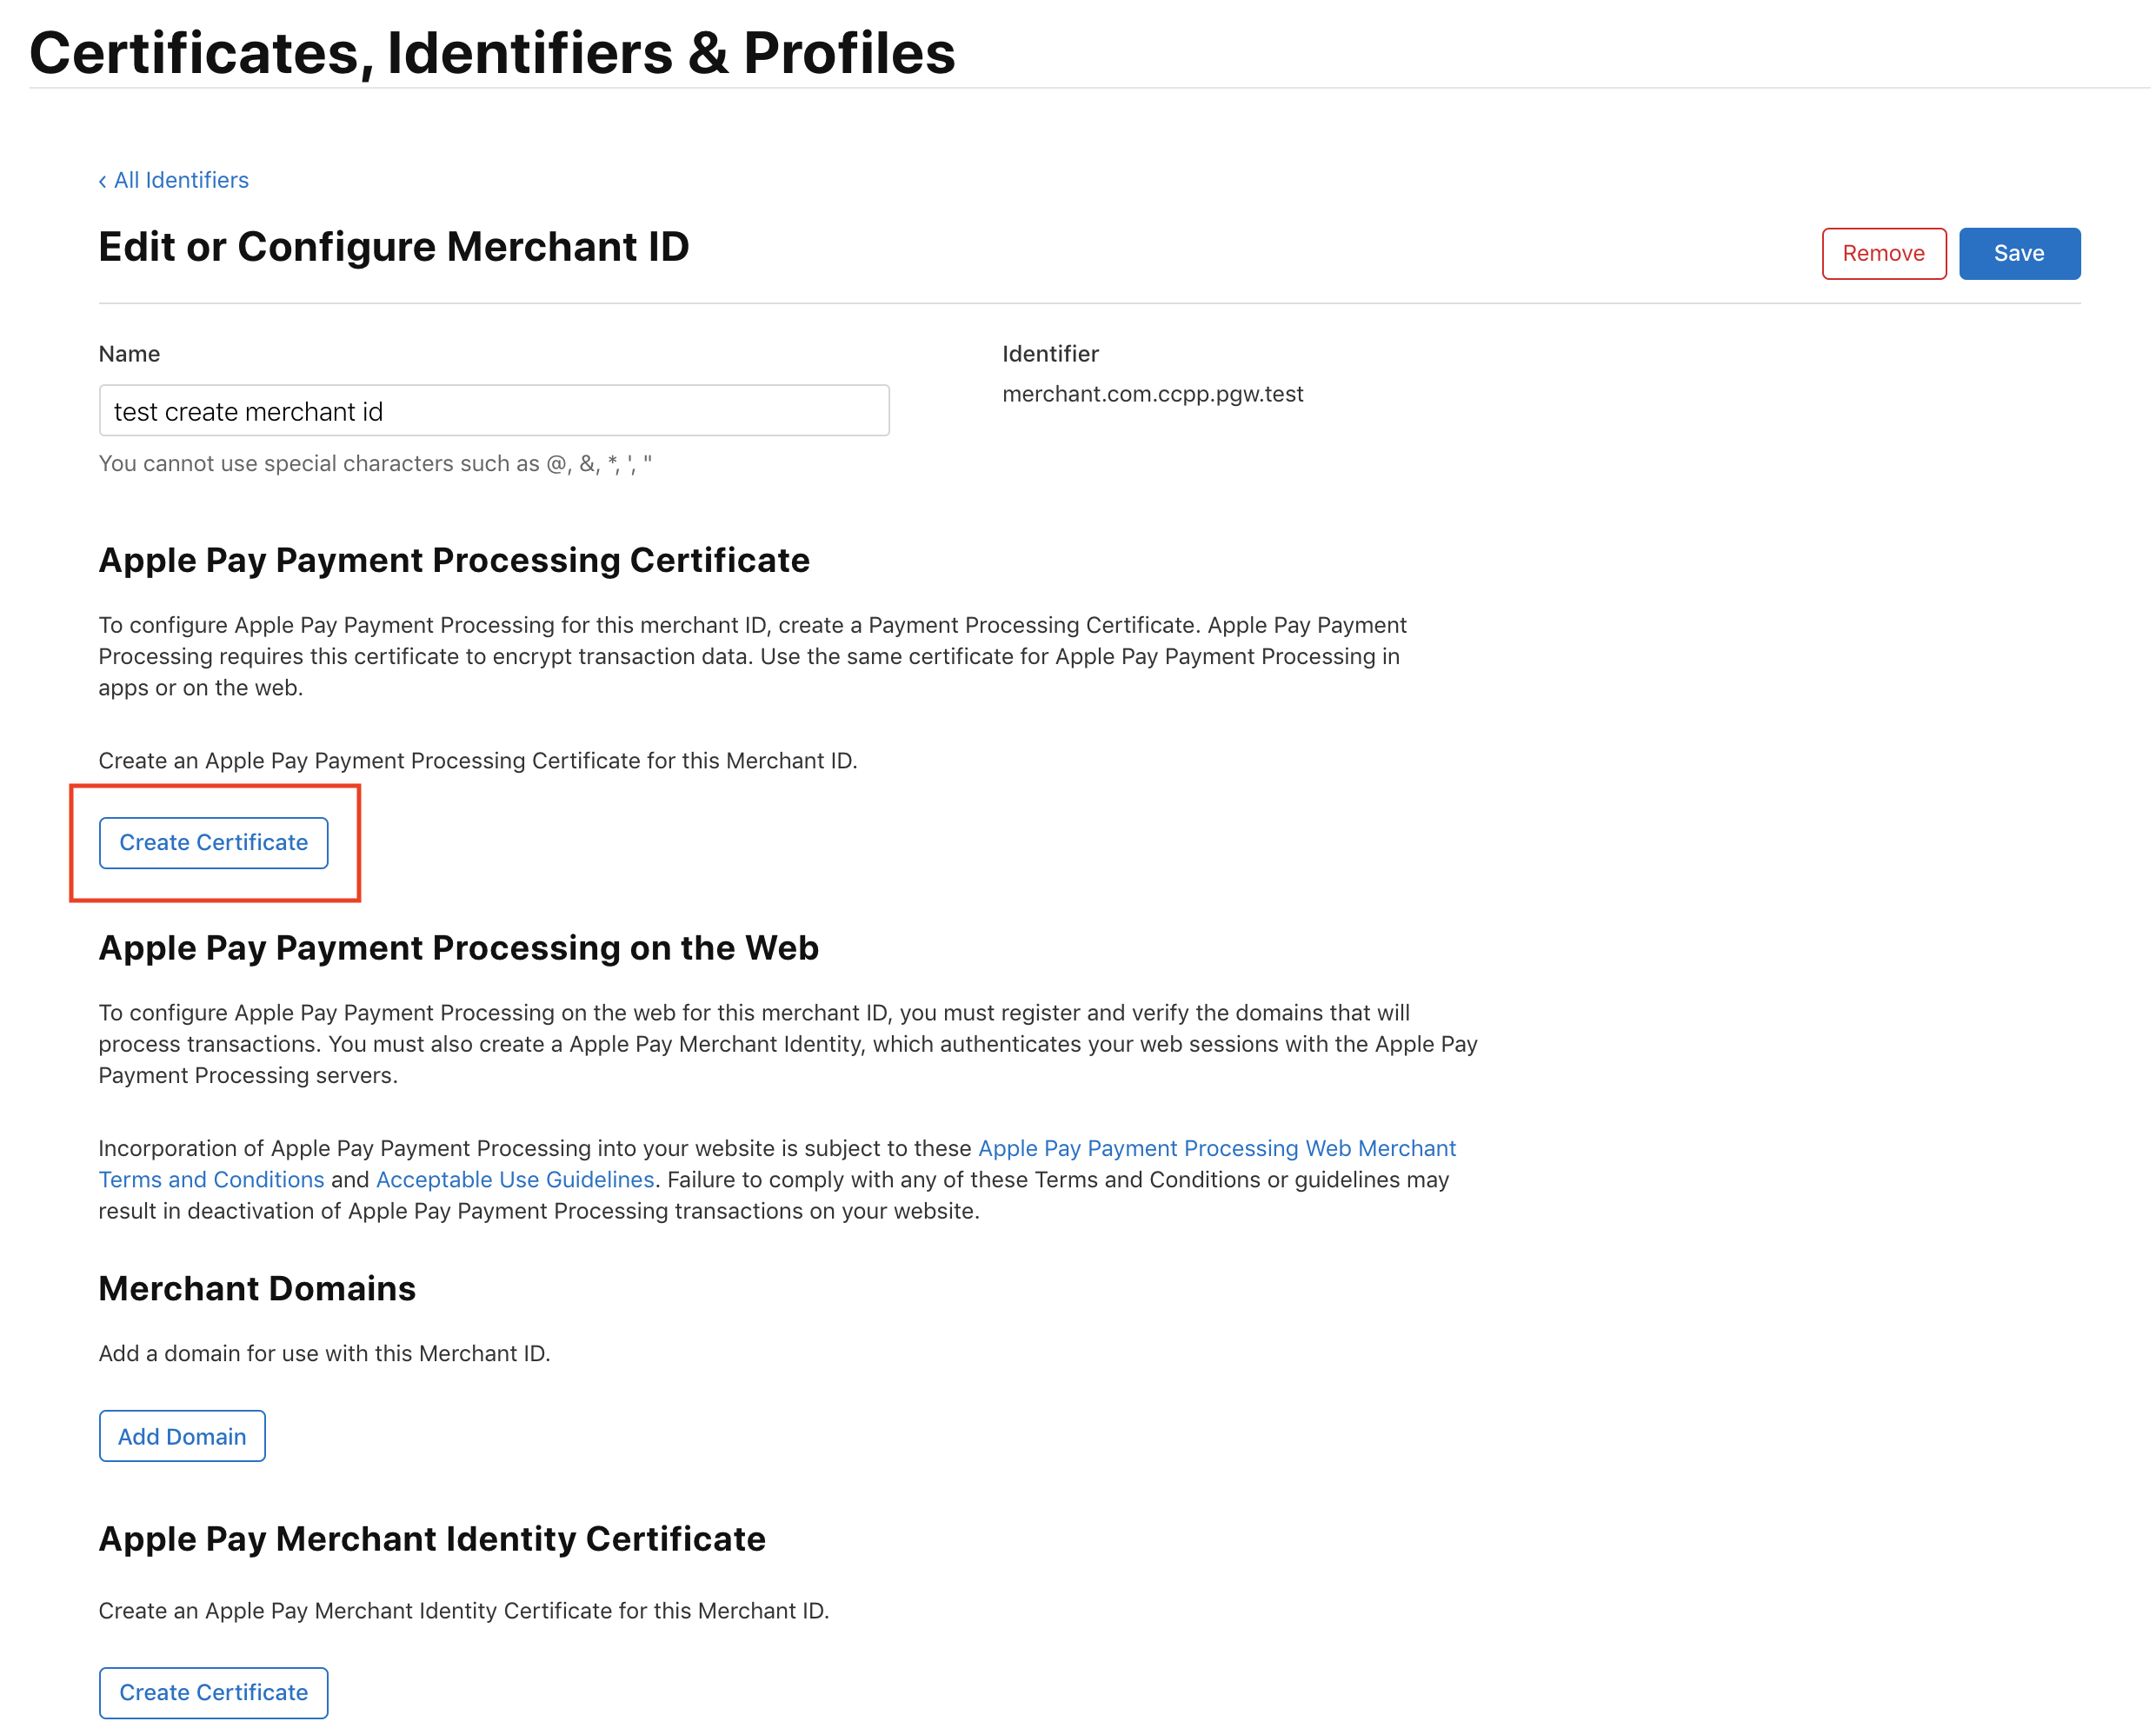
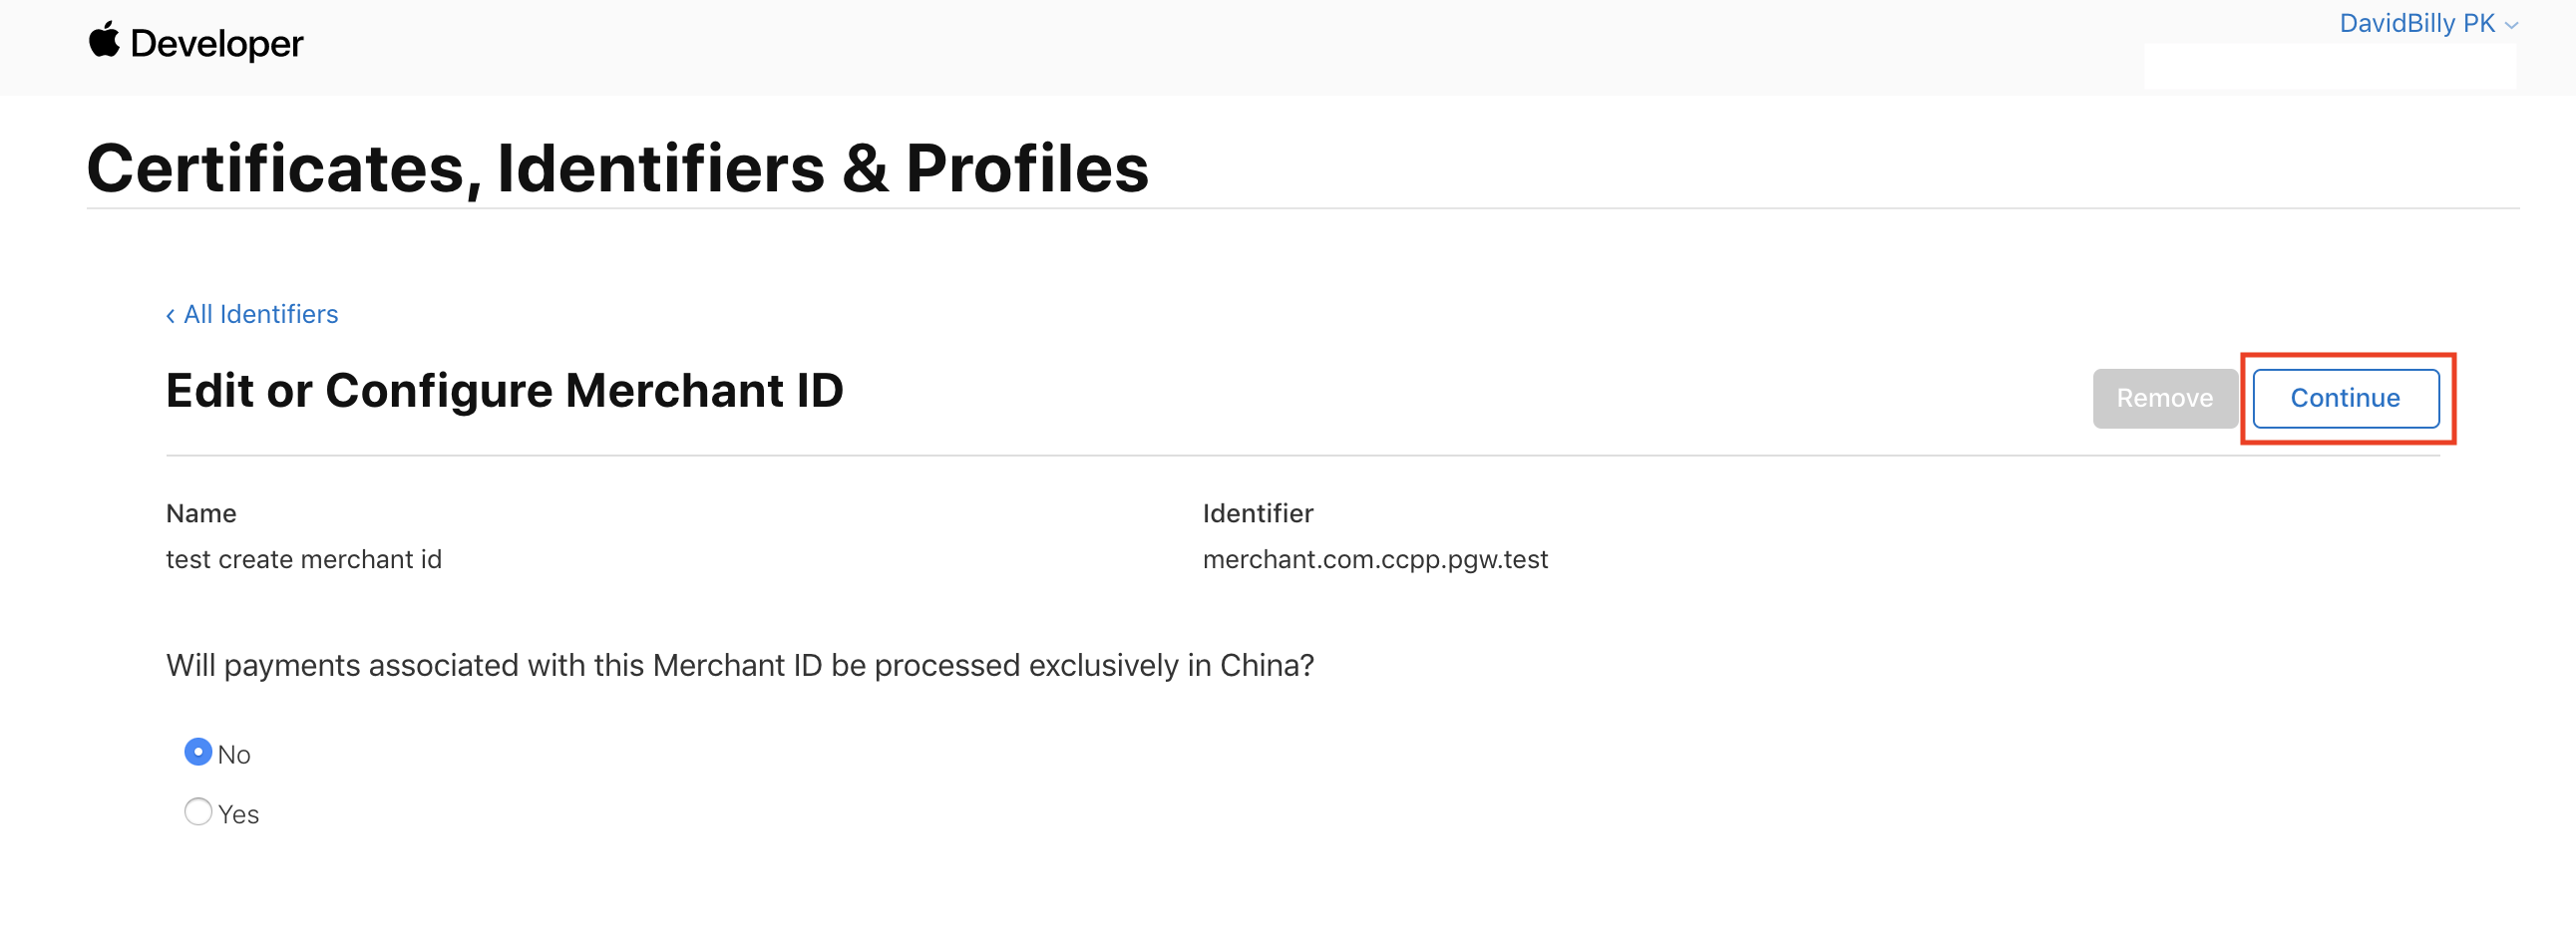
Step 1: Create new Apple Pay Payment Processing Certificate.
Step 2: Click on continue.
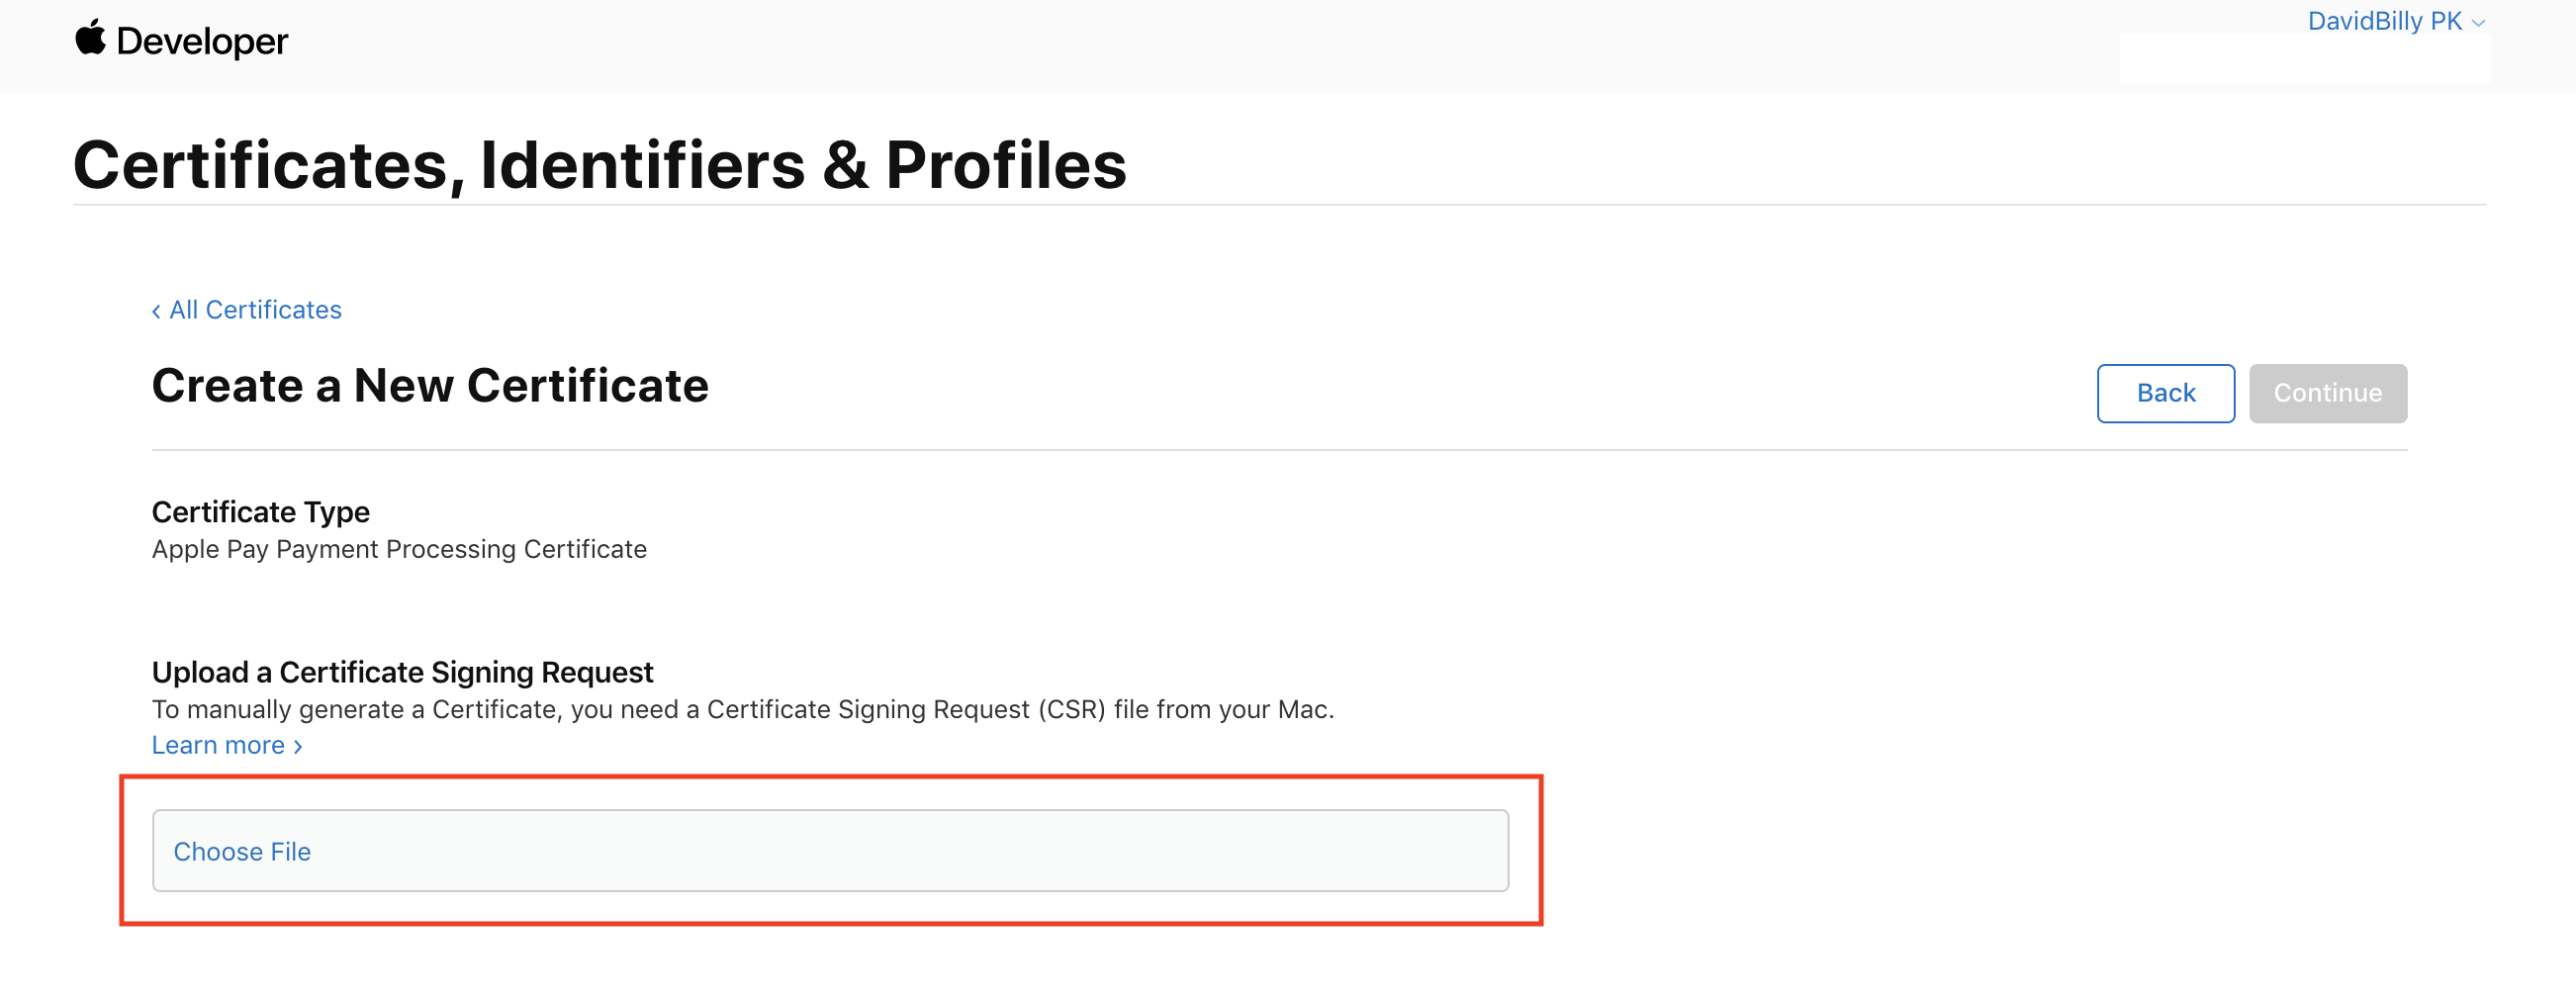
Step 3: Upload a Certificate Signing Request file. (Your can get CSR file from 2C2P PGW merchant portal or 2C2P merchant support).
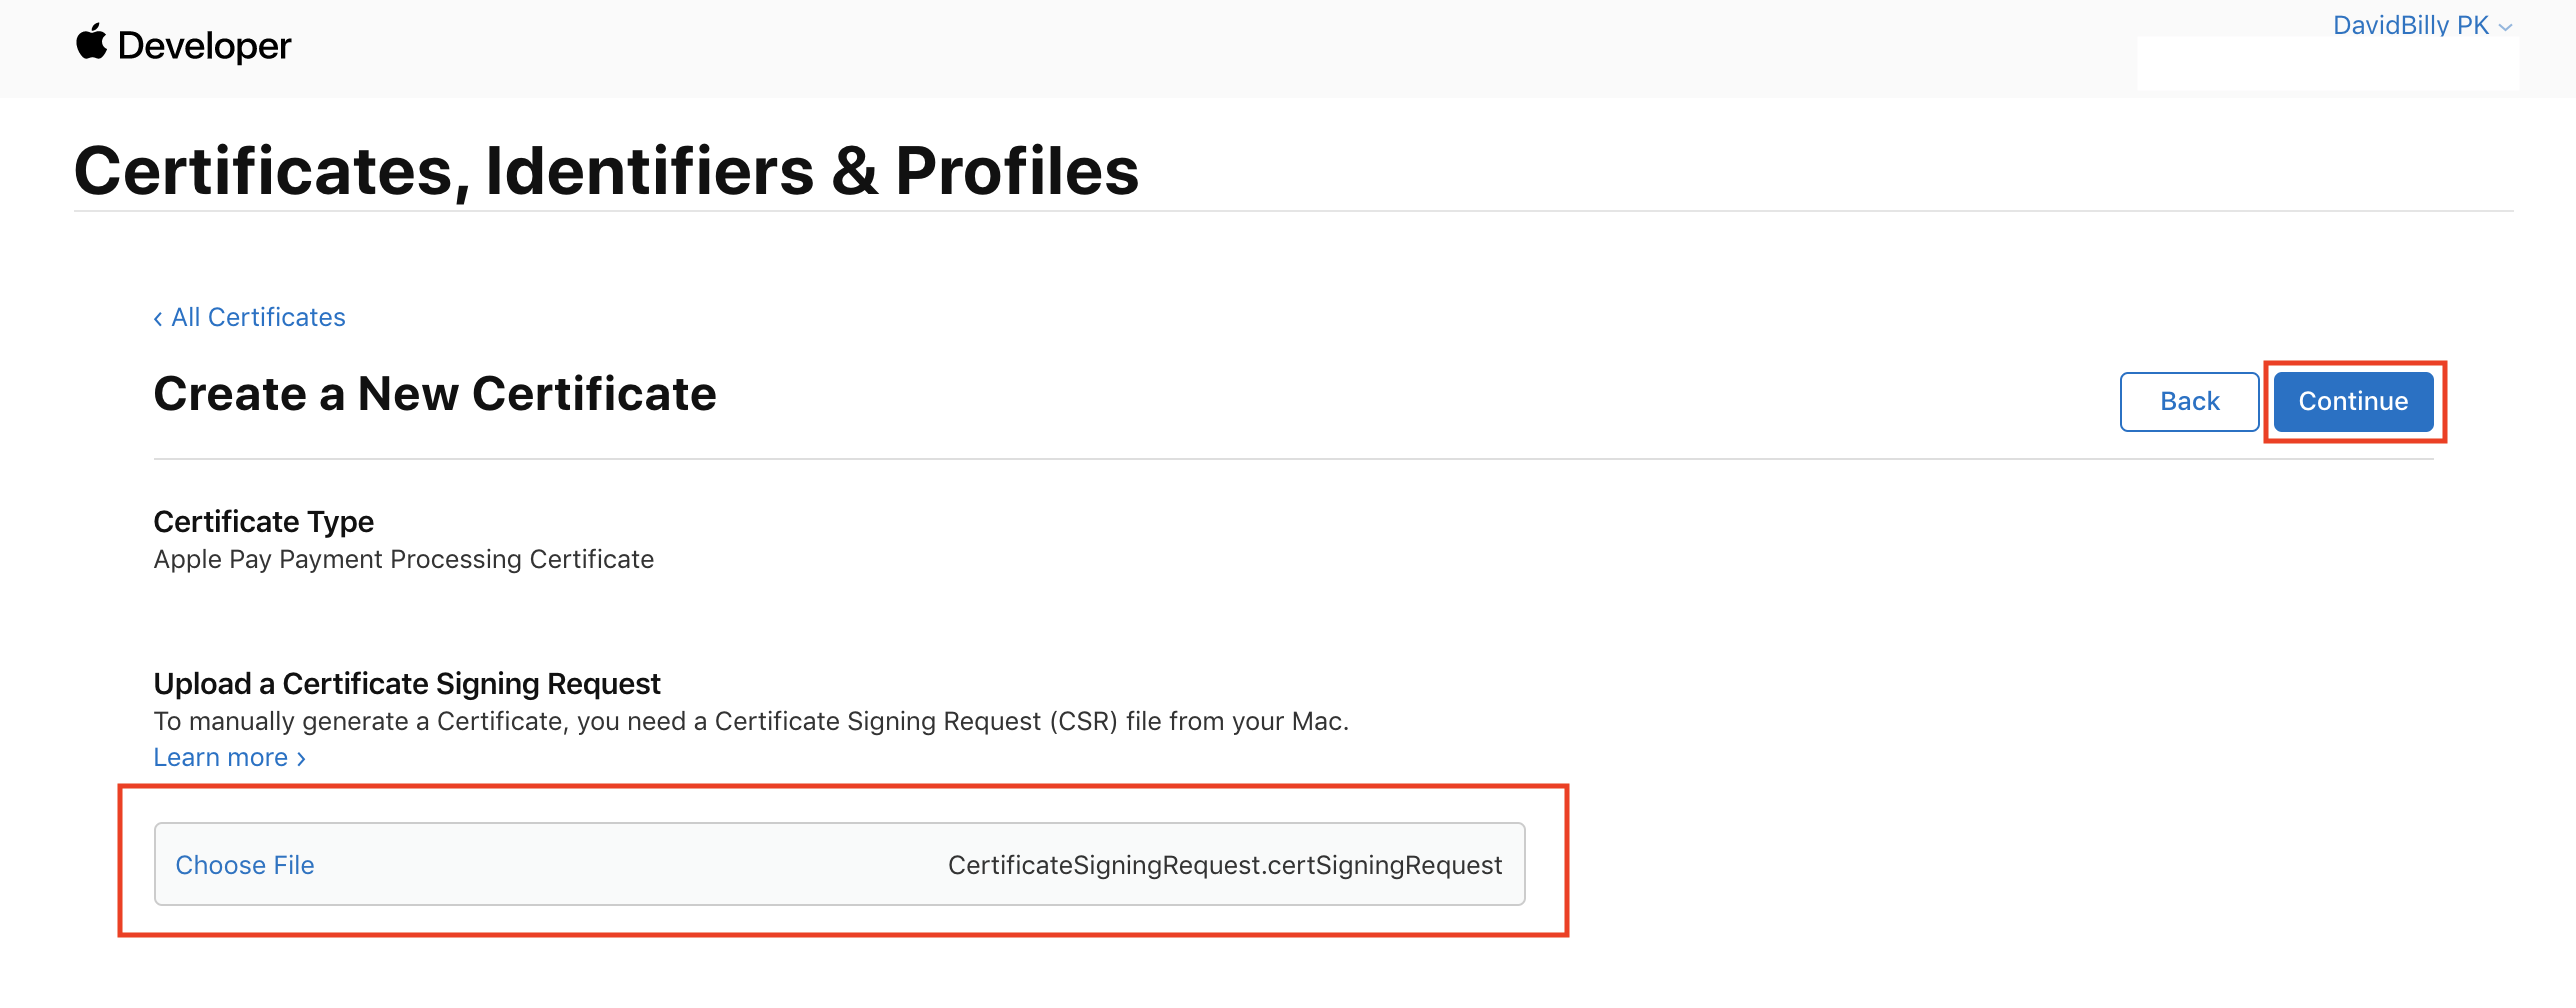
Step 4: Upload CSR file and click on continue.
Step 5: Download the CER file (apple_pay.cer) and upload to 2C2P PGW merchant portal.
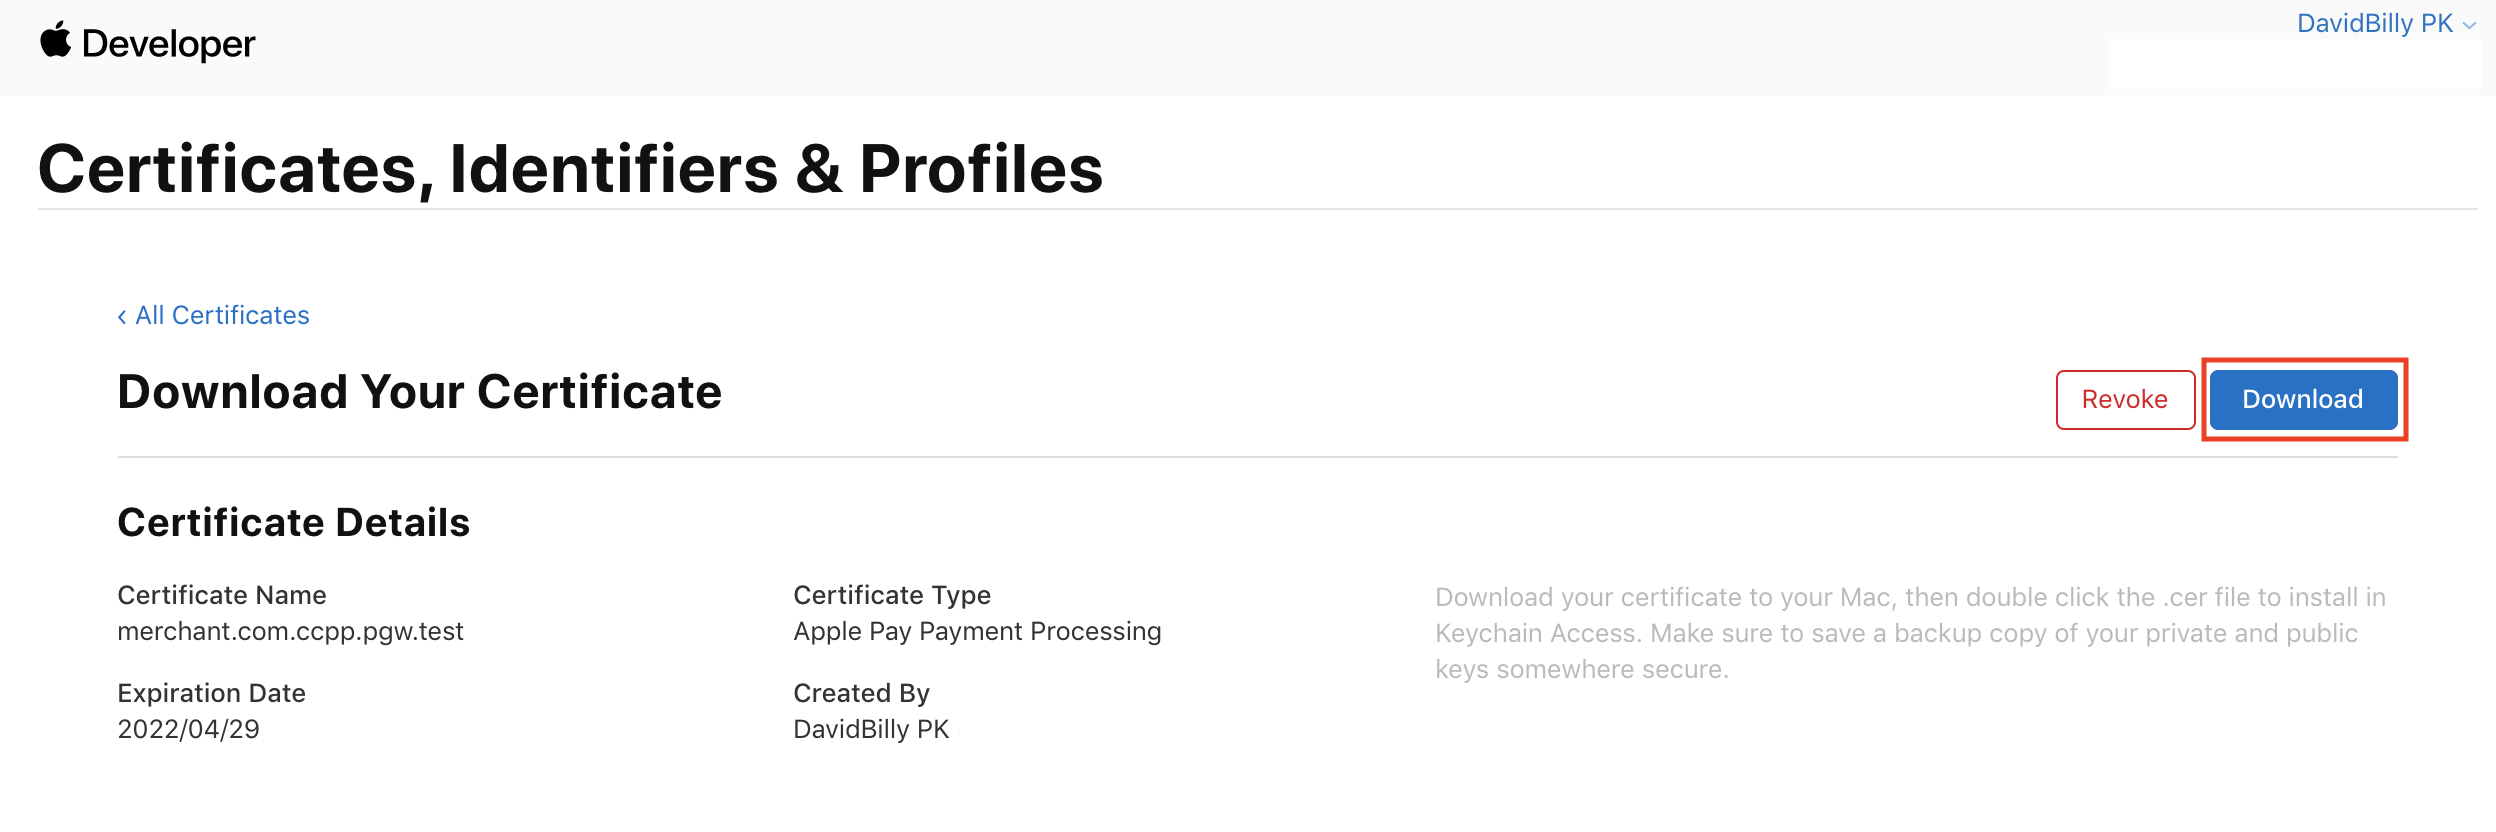
Step 6: You'll see your Apple Pay Payment Processing Certificate information.

3. Enable Apple Pay for your application
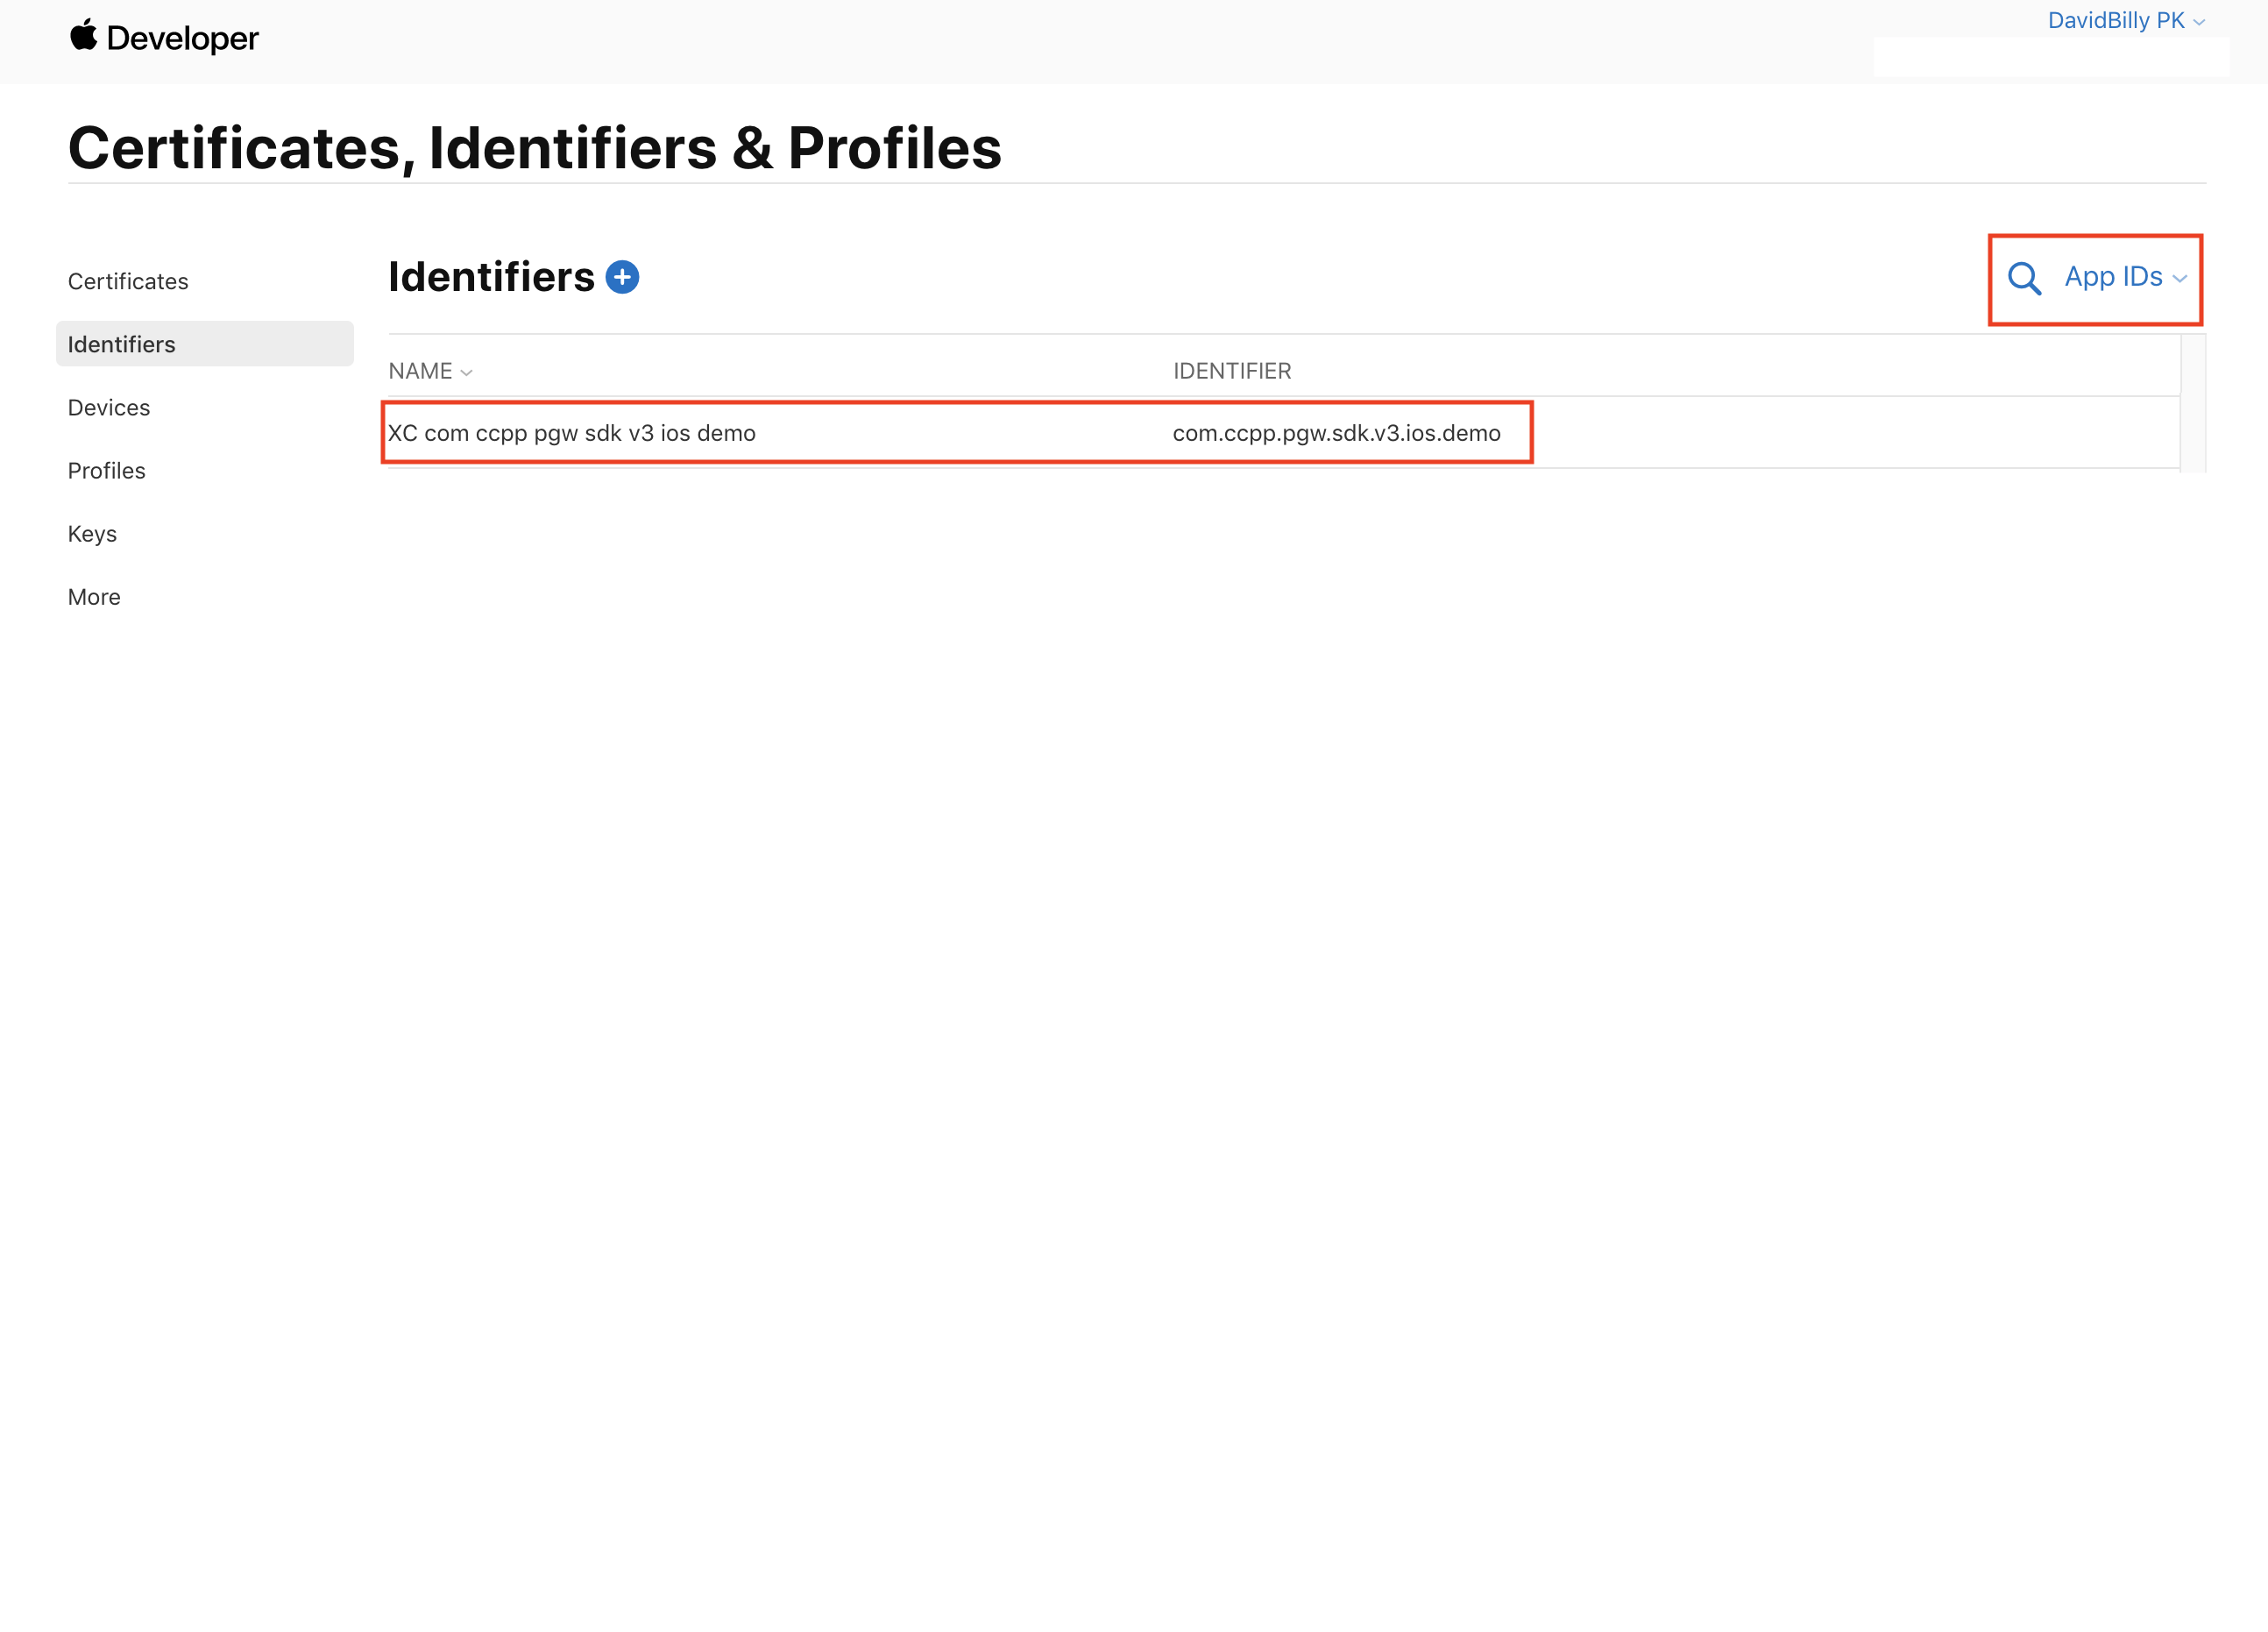
Step 1: Filter by App IDs and select your application.
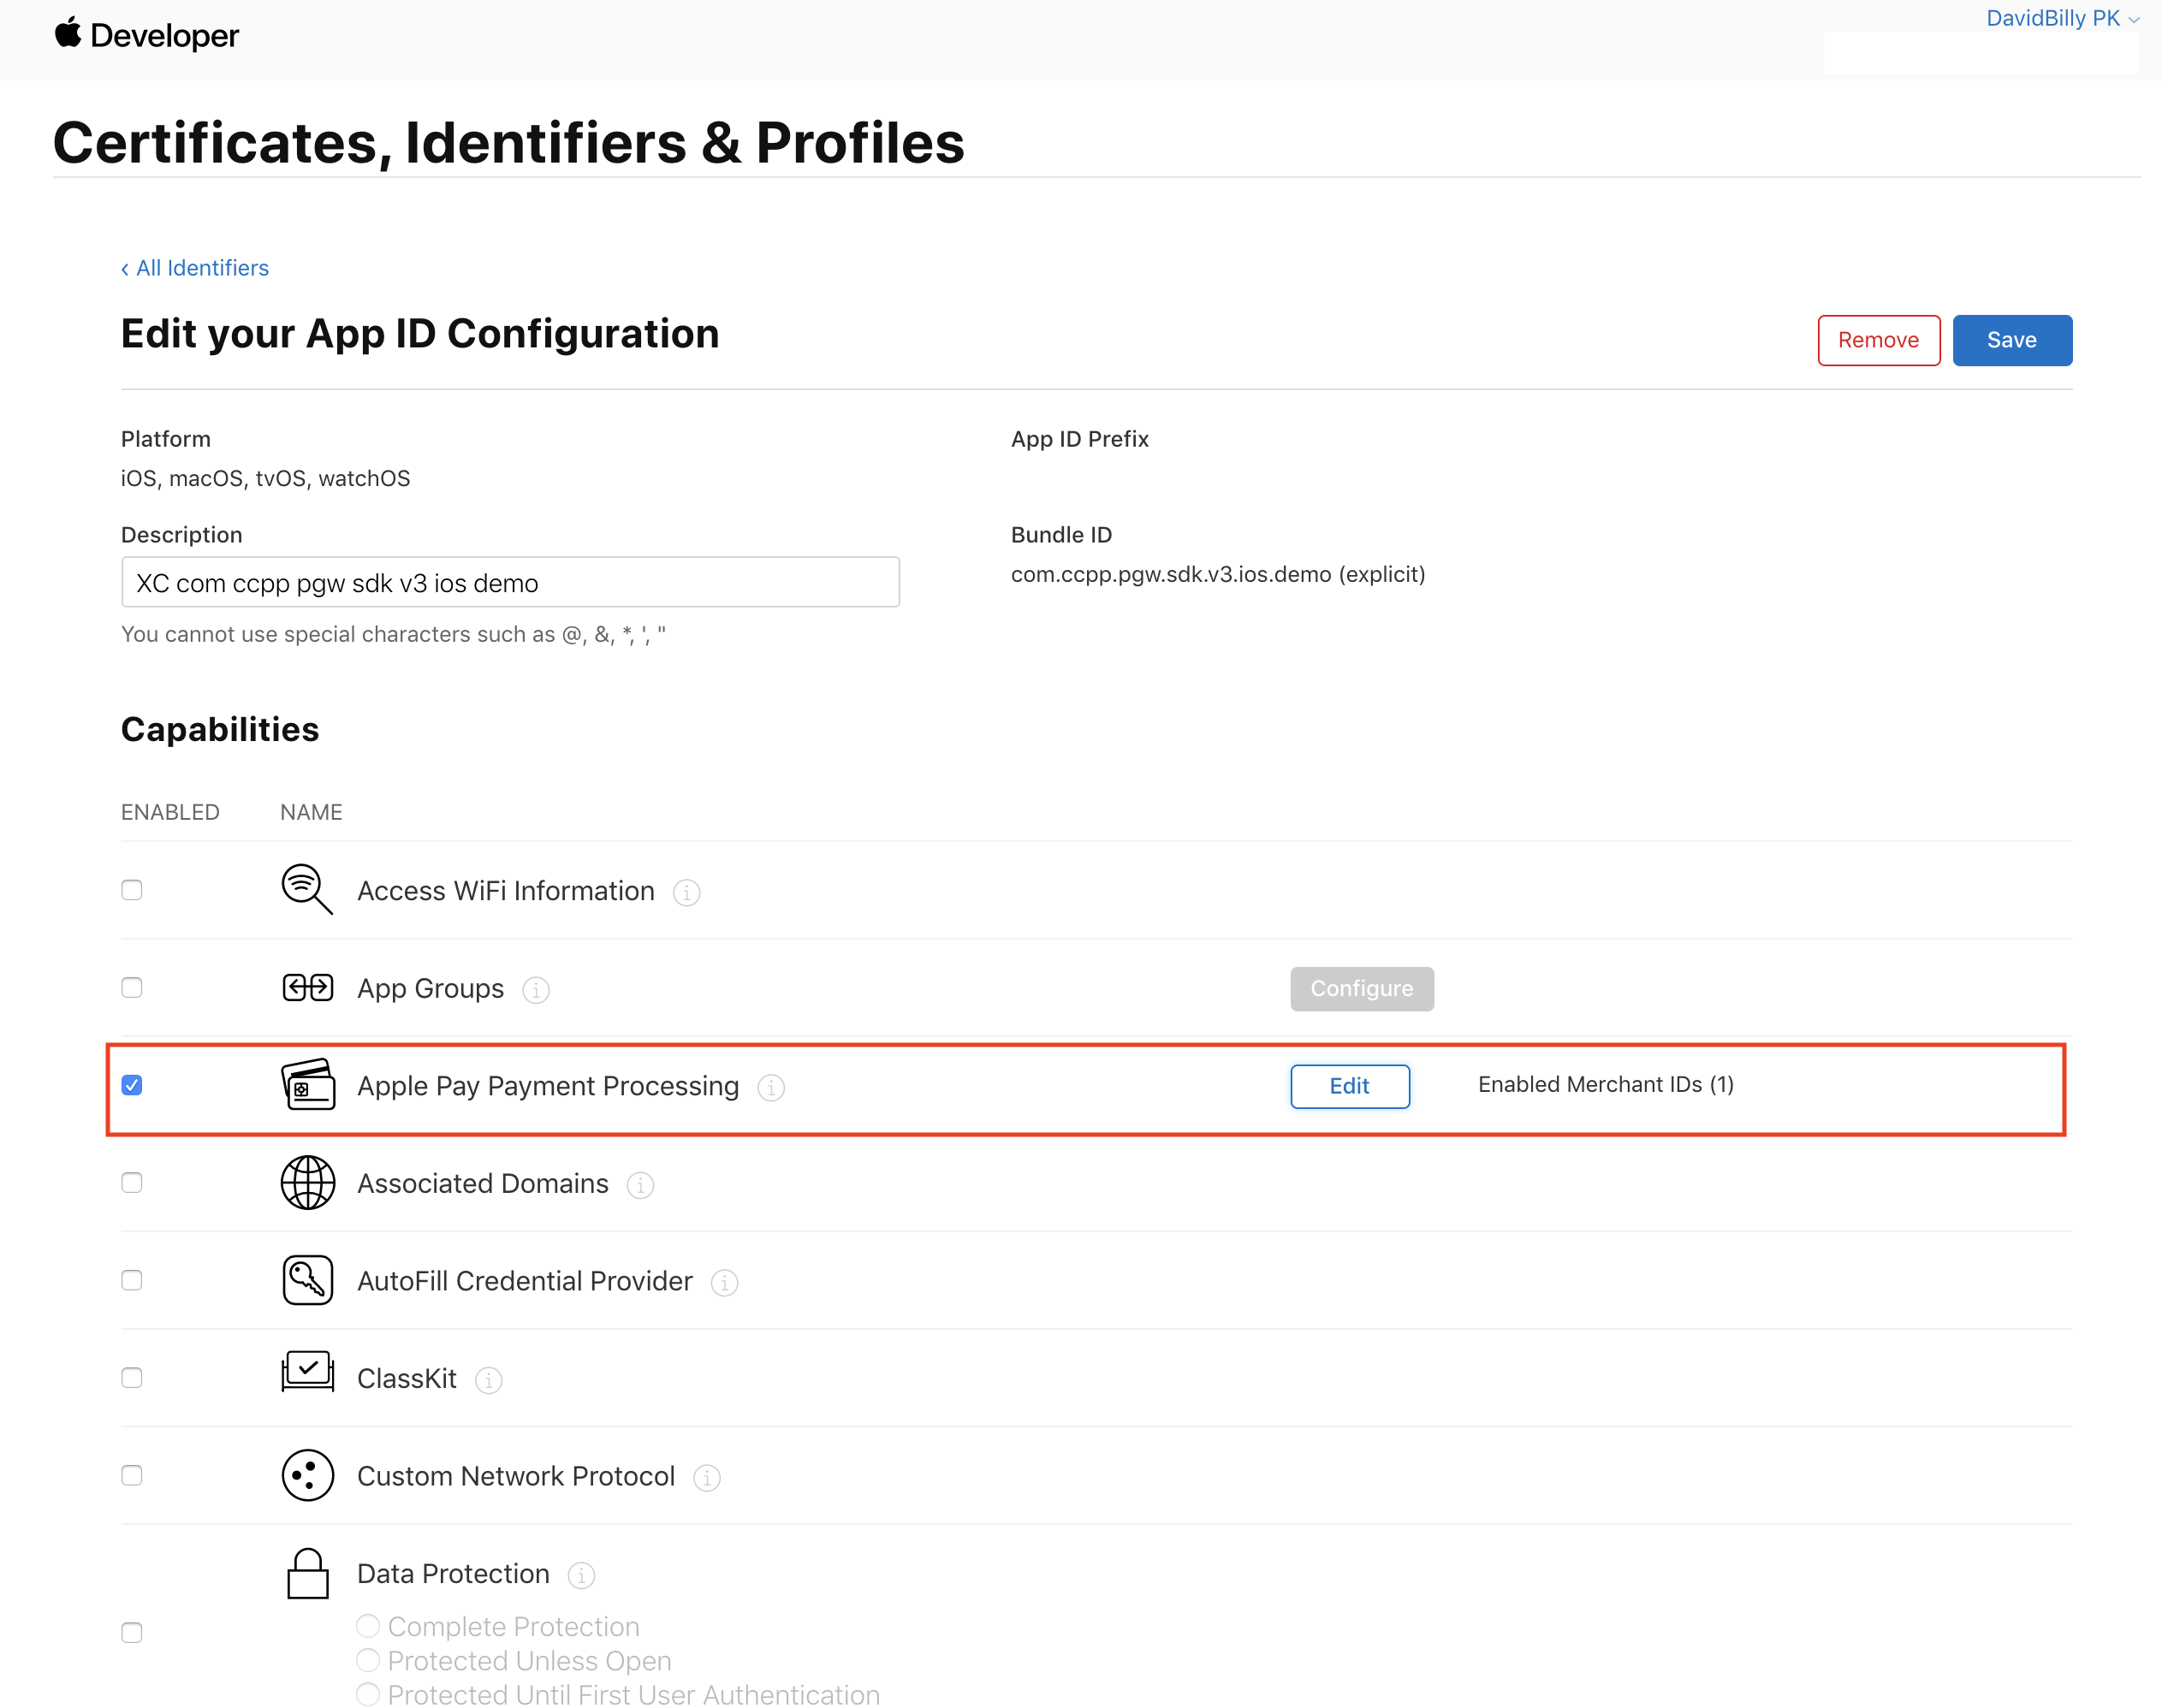
Step 2: Enable Apple Pay Payment Processing and click on edit.
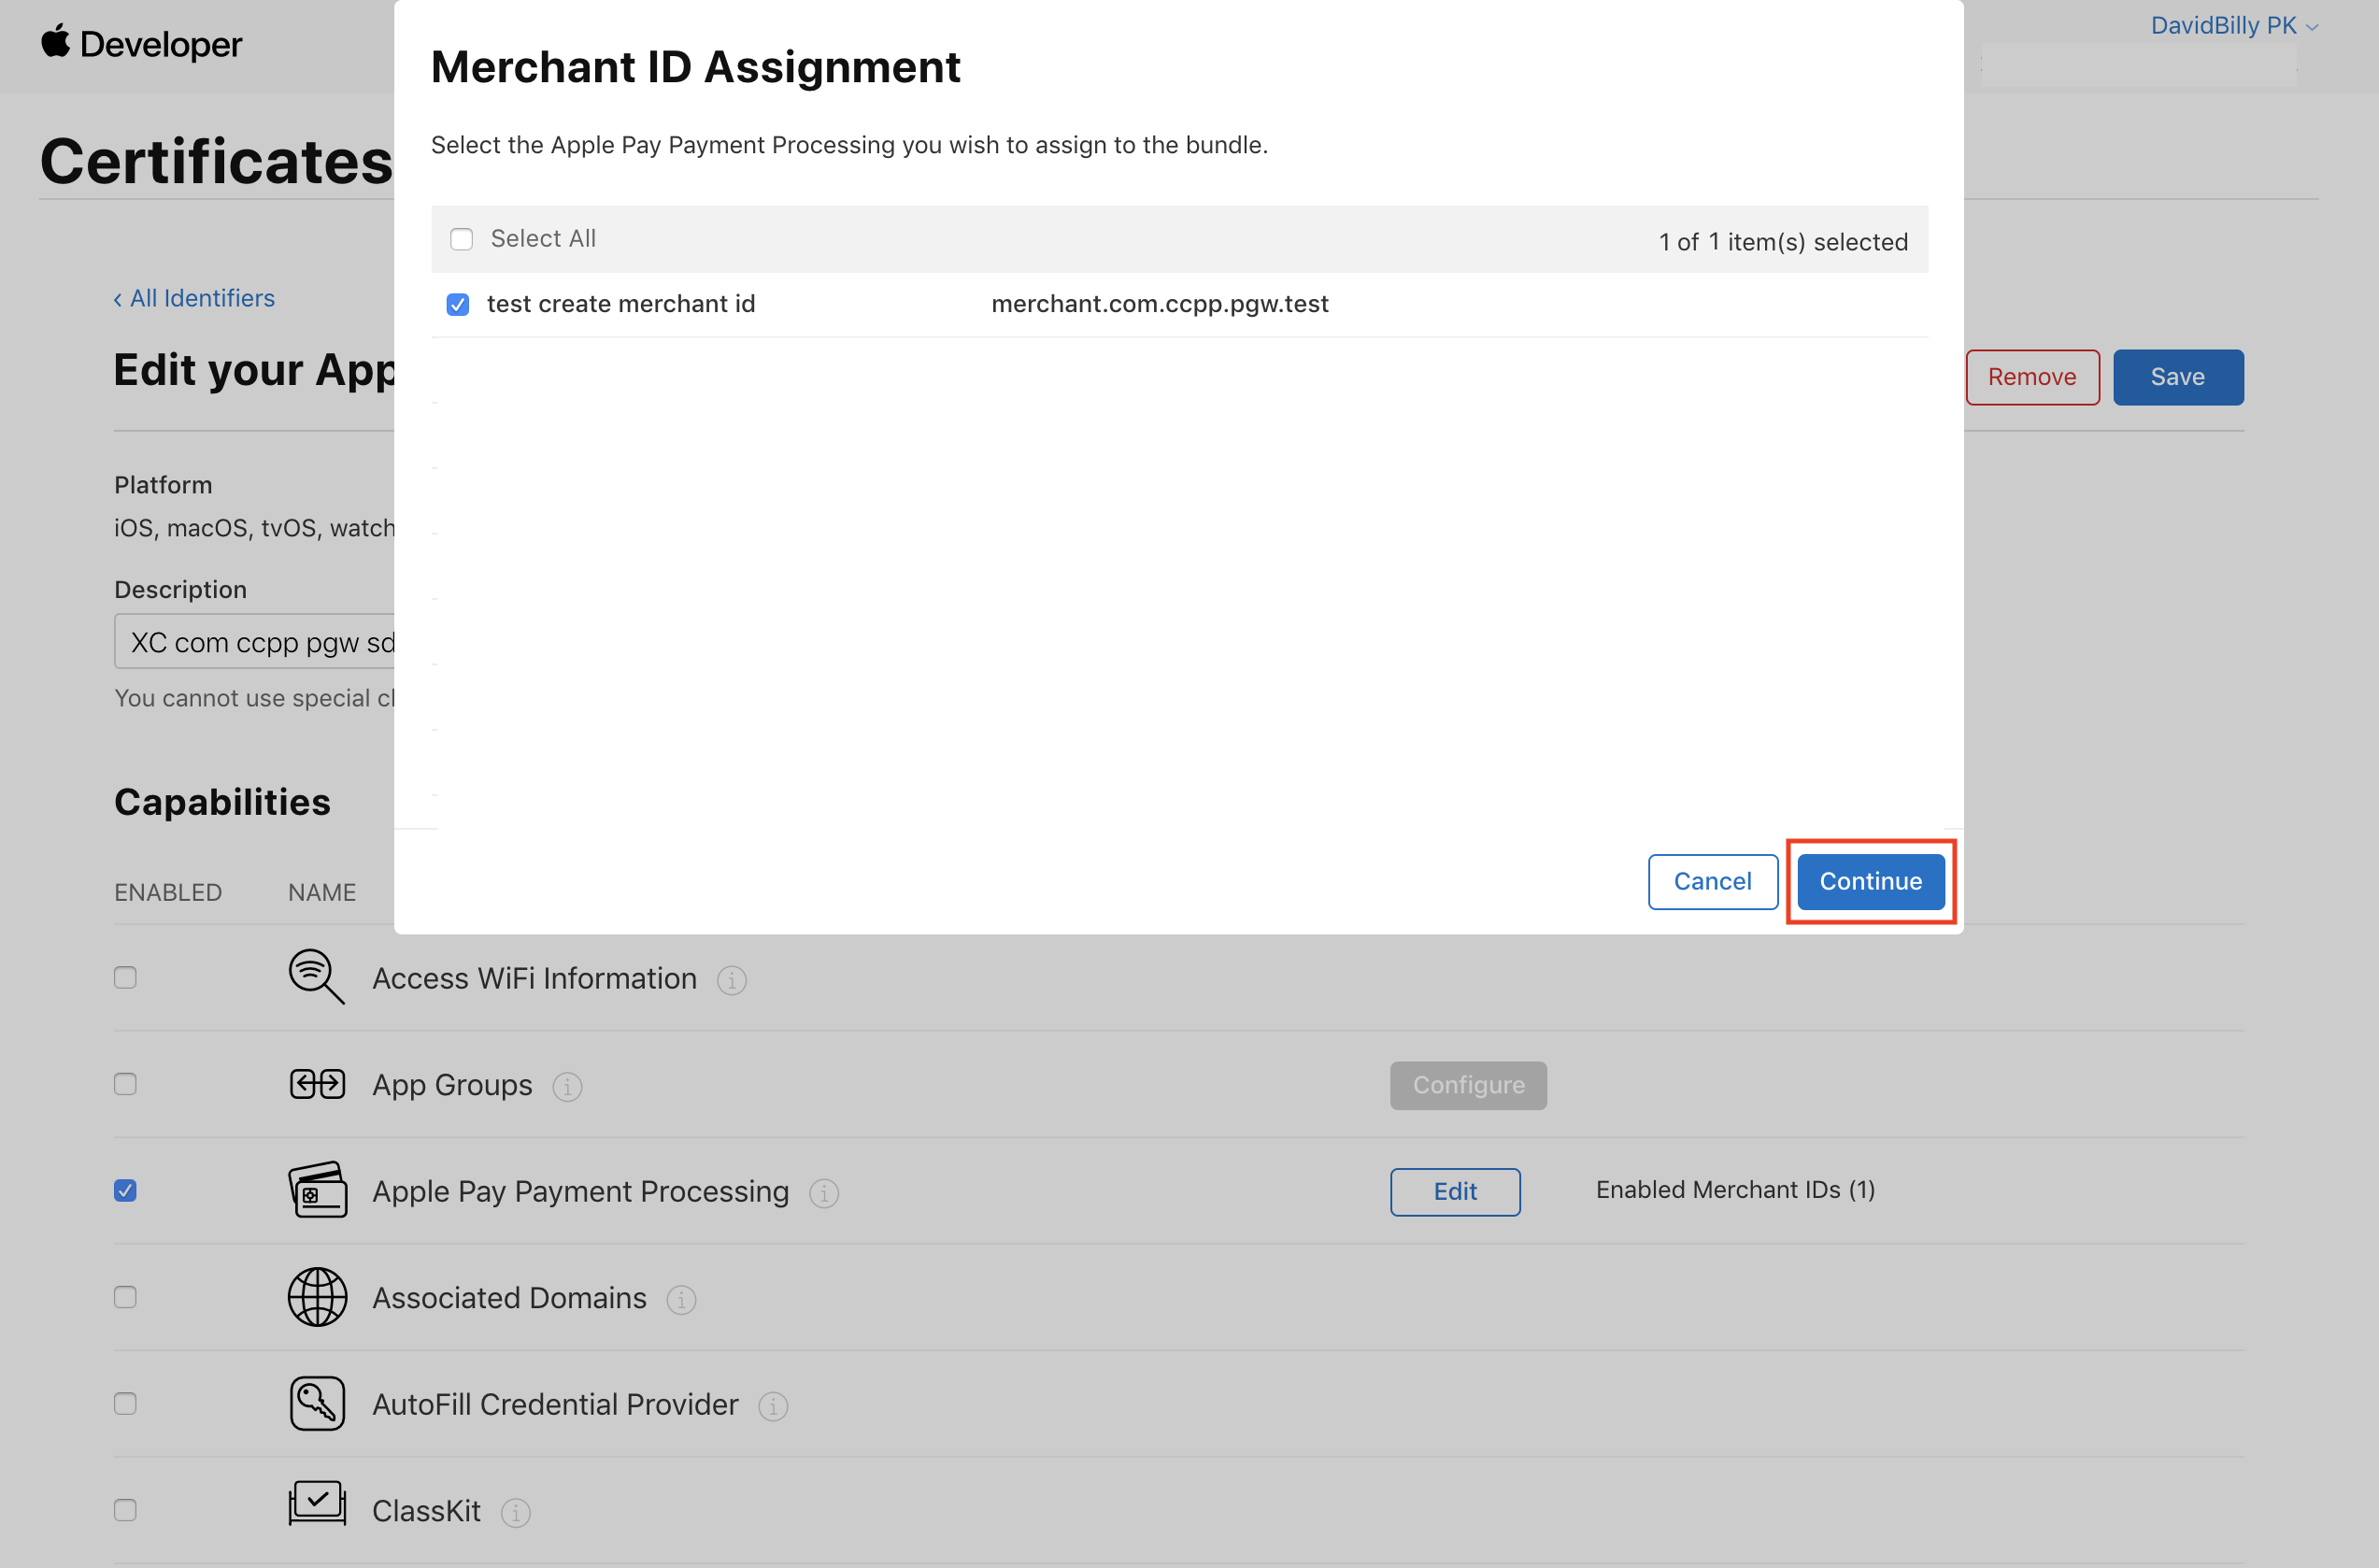
Step 3: Select your Merchant ID and click on continue.
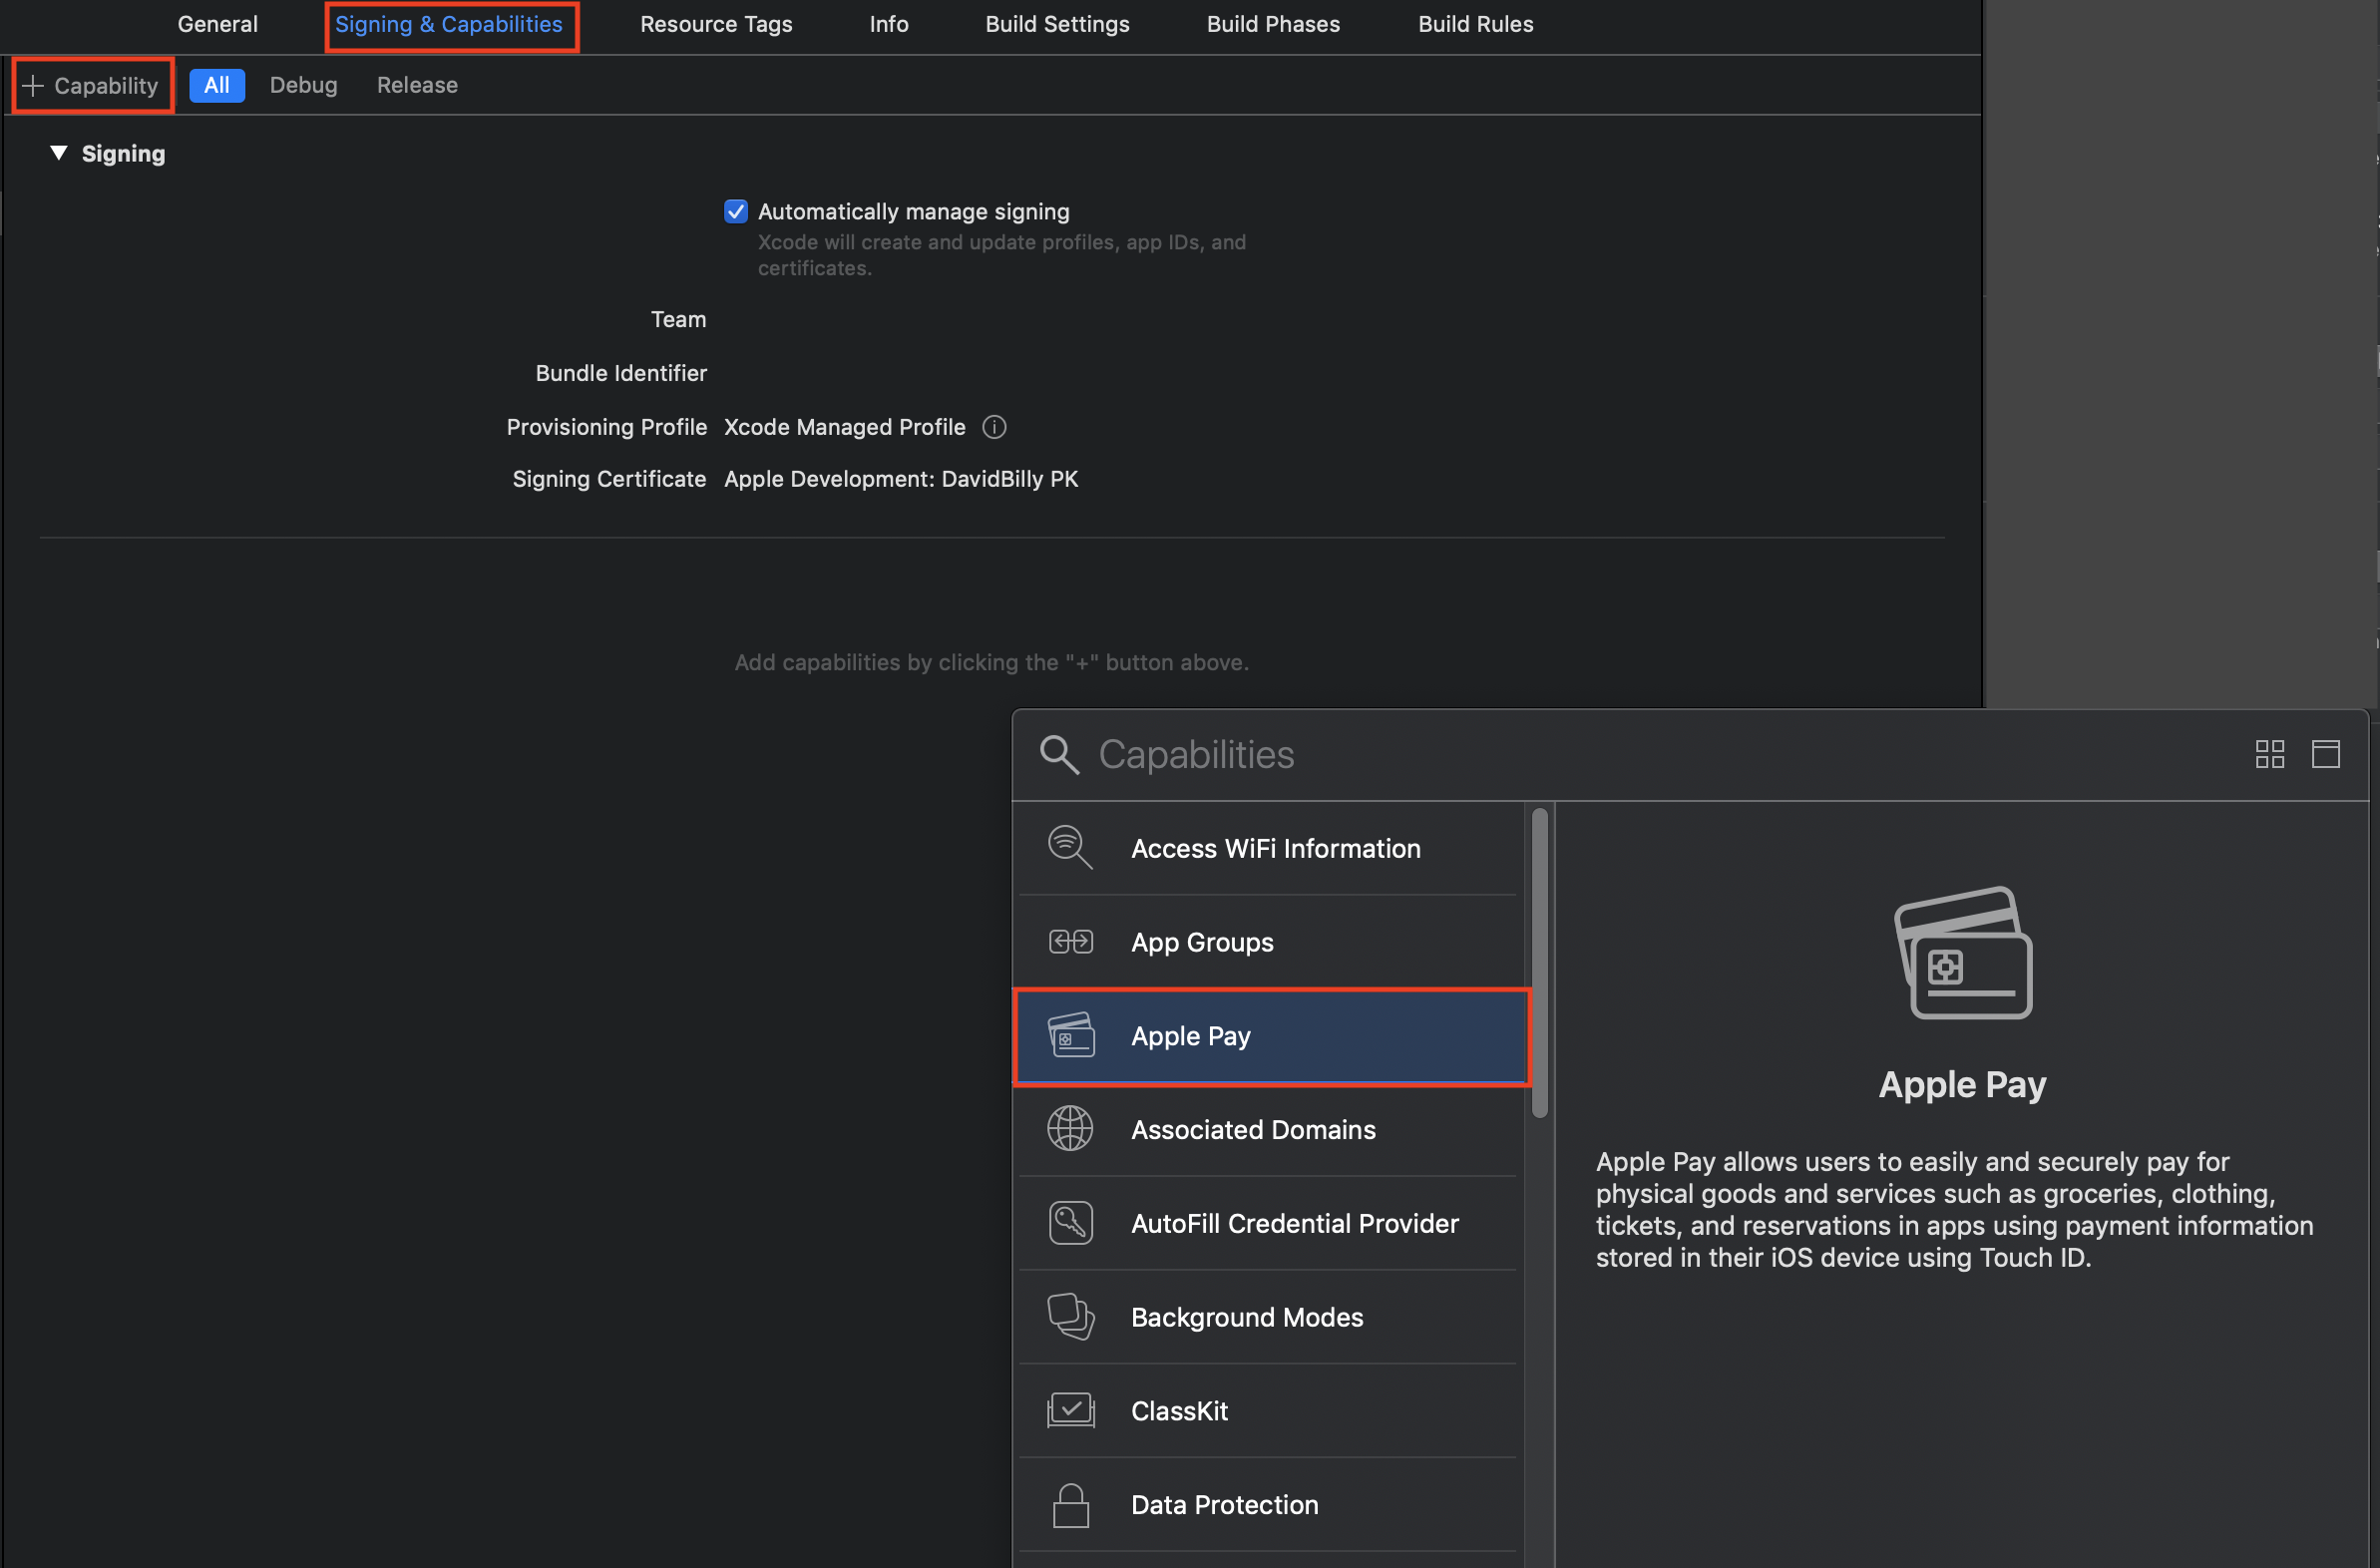
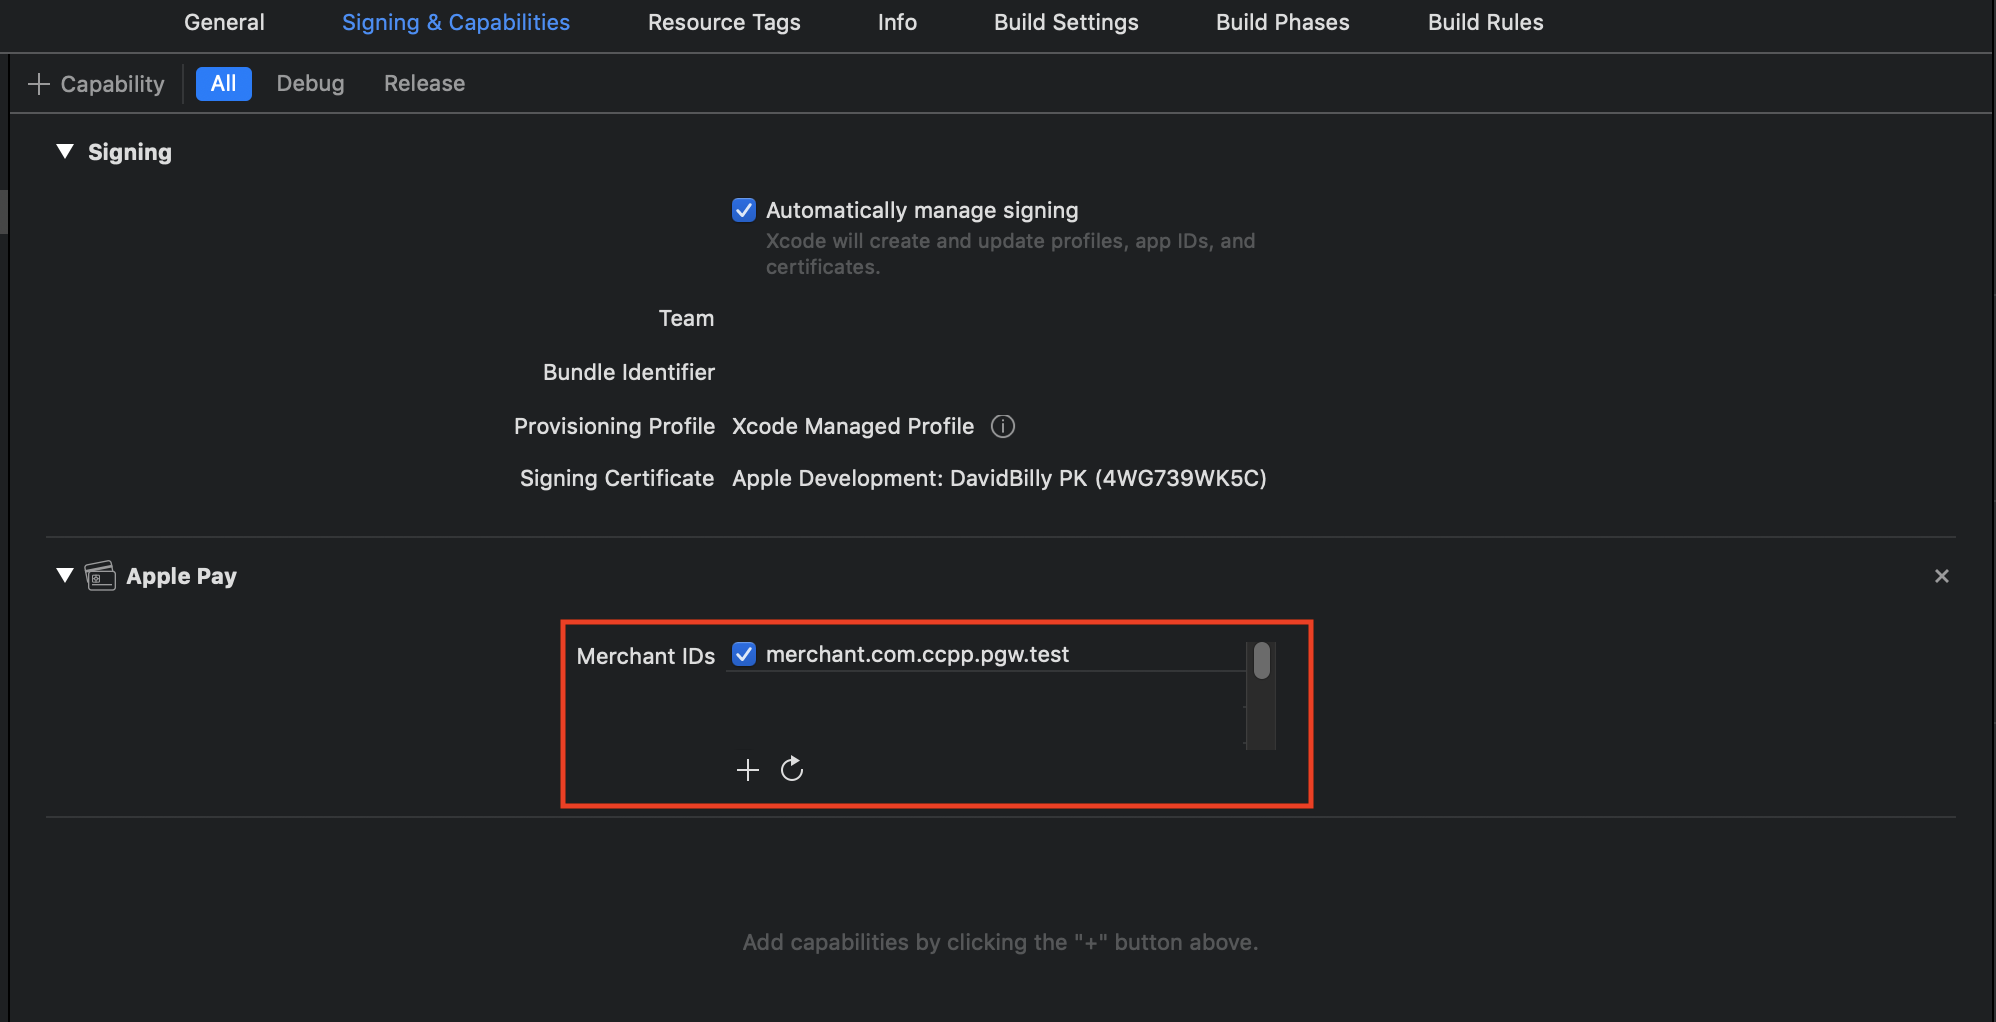
Step 4: At your XCode, go to Signing & Capabilities and add Apple Pay capability.
Step 5: Select your Merchant ID and add 2C2P SDK implementation to your application.
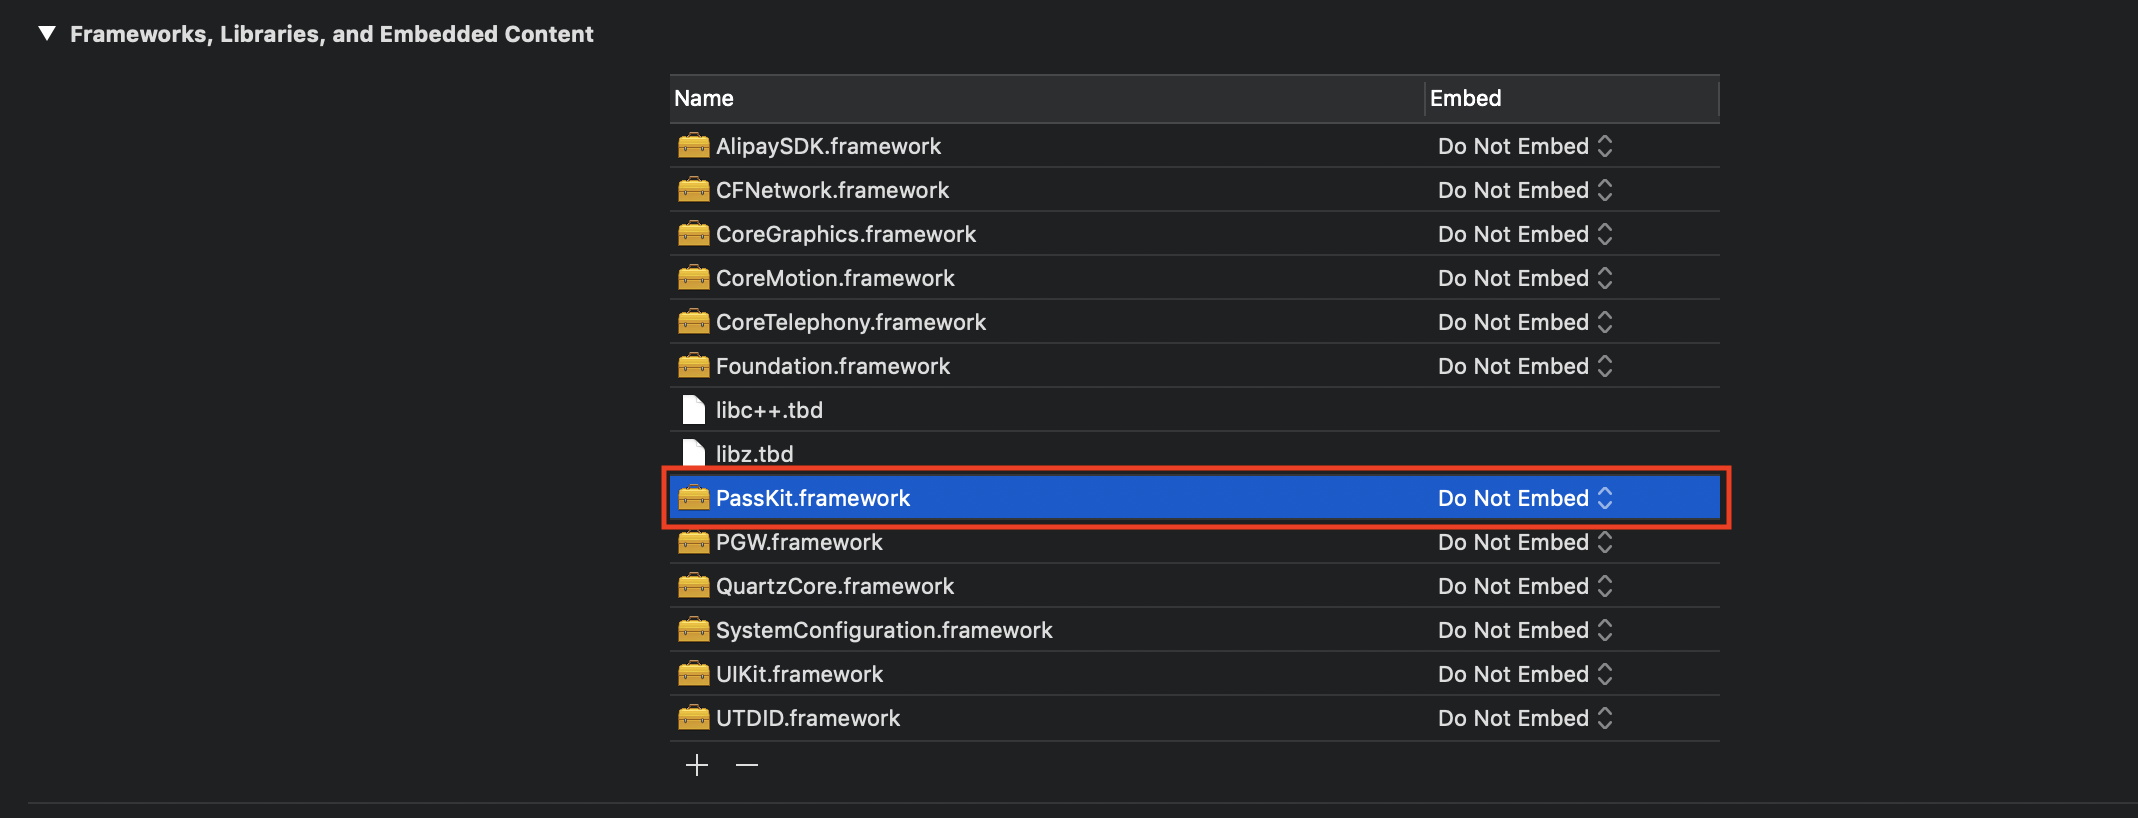
Step 6: Add PassKit.framework into dependency.
Updated about 1 year ago